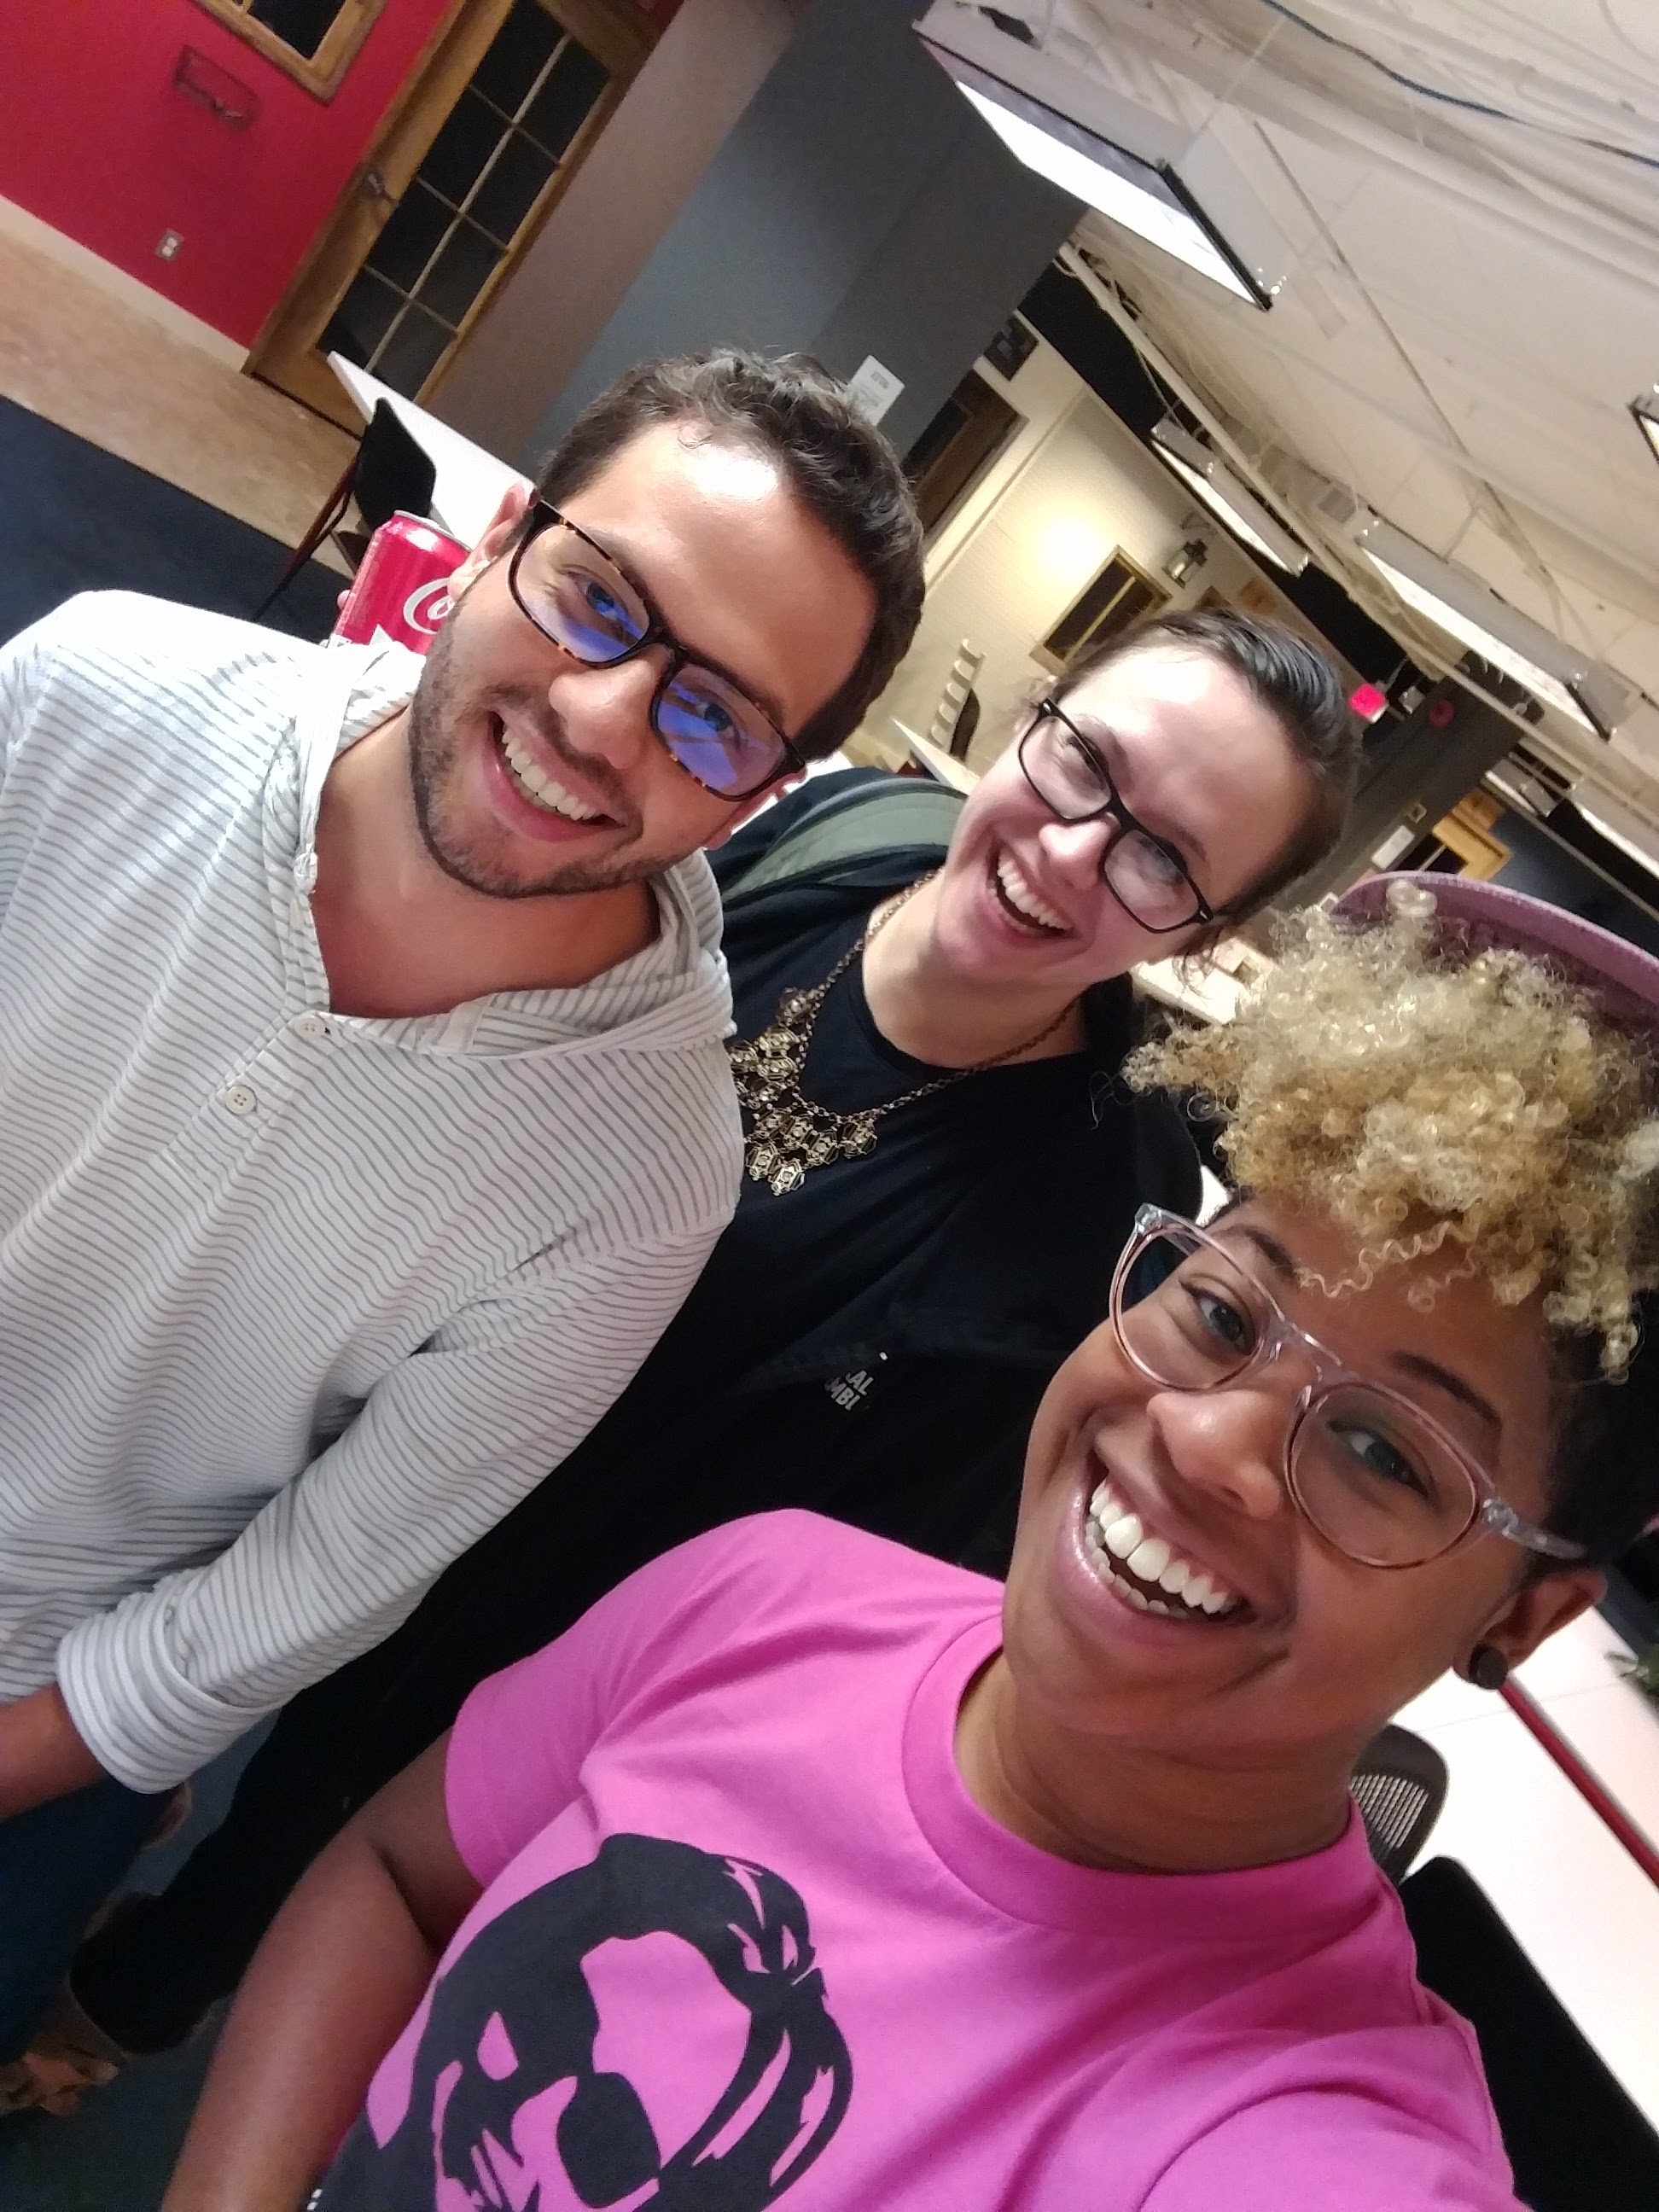
Hey, hey, hey! This week was Project 3 week. On Friday morning, we found out who was in our group and some people weren’t too happy about their group assignments. Luckily, I was put into a group with two awesome classmates and we spent the entire morning setting group norms, figuring out our roles and responsibilities, and brainstorming ideas for our project!
The Project Requirements
Our instructors partnered us up for this project. This was meant to push us both technically and collaboratively. As developers, we will, almost certainly, be joining a development team during our careers. So, it’s important to learn how to work together.
We must work together to architect, design, and build an app with two major components:
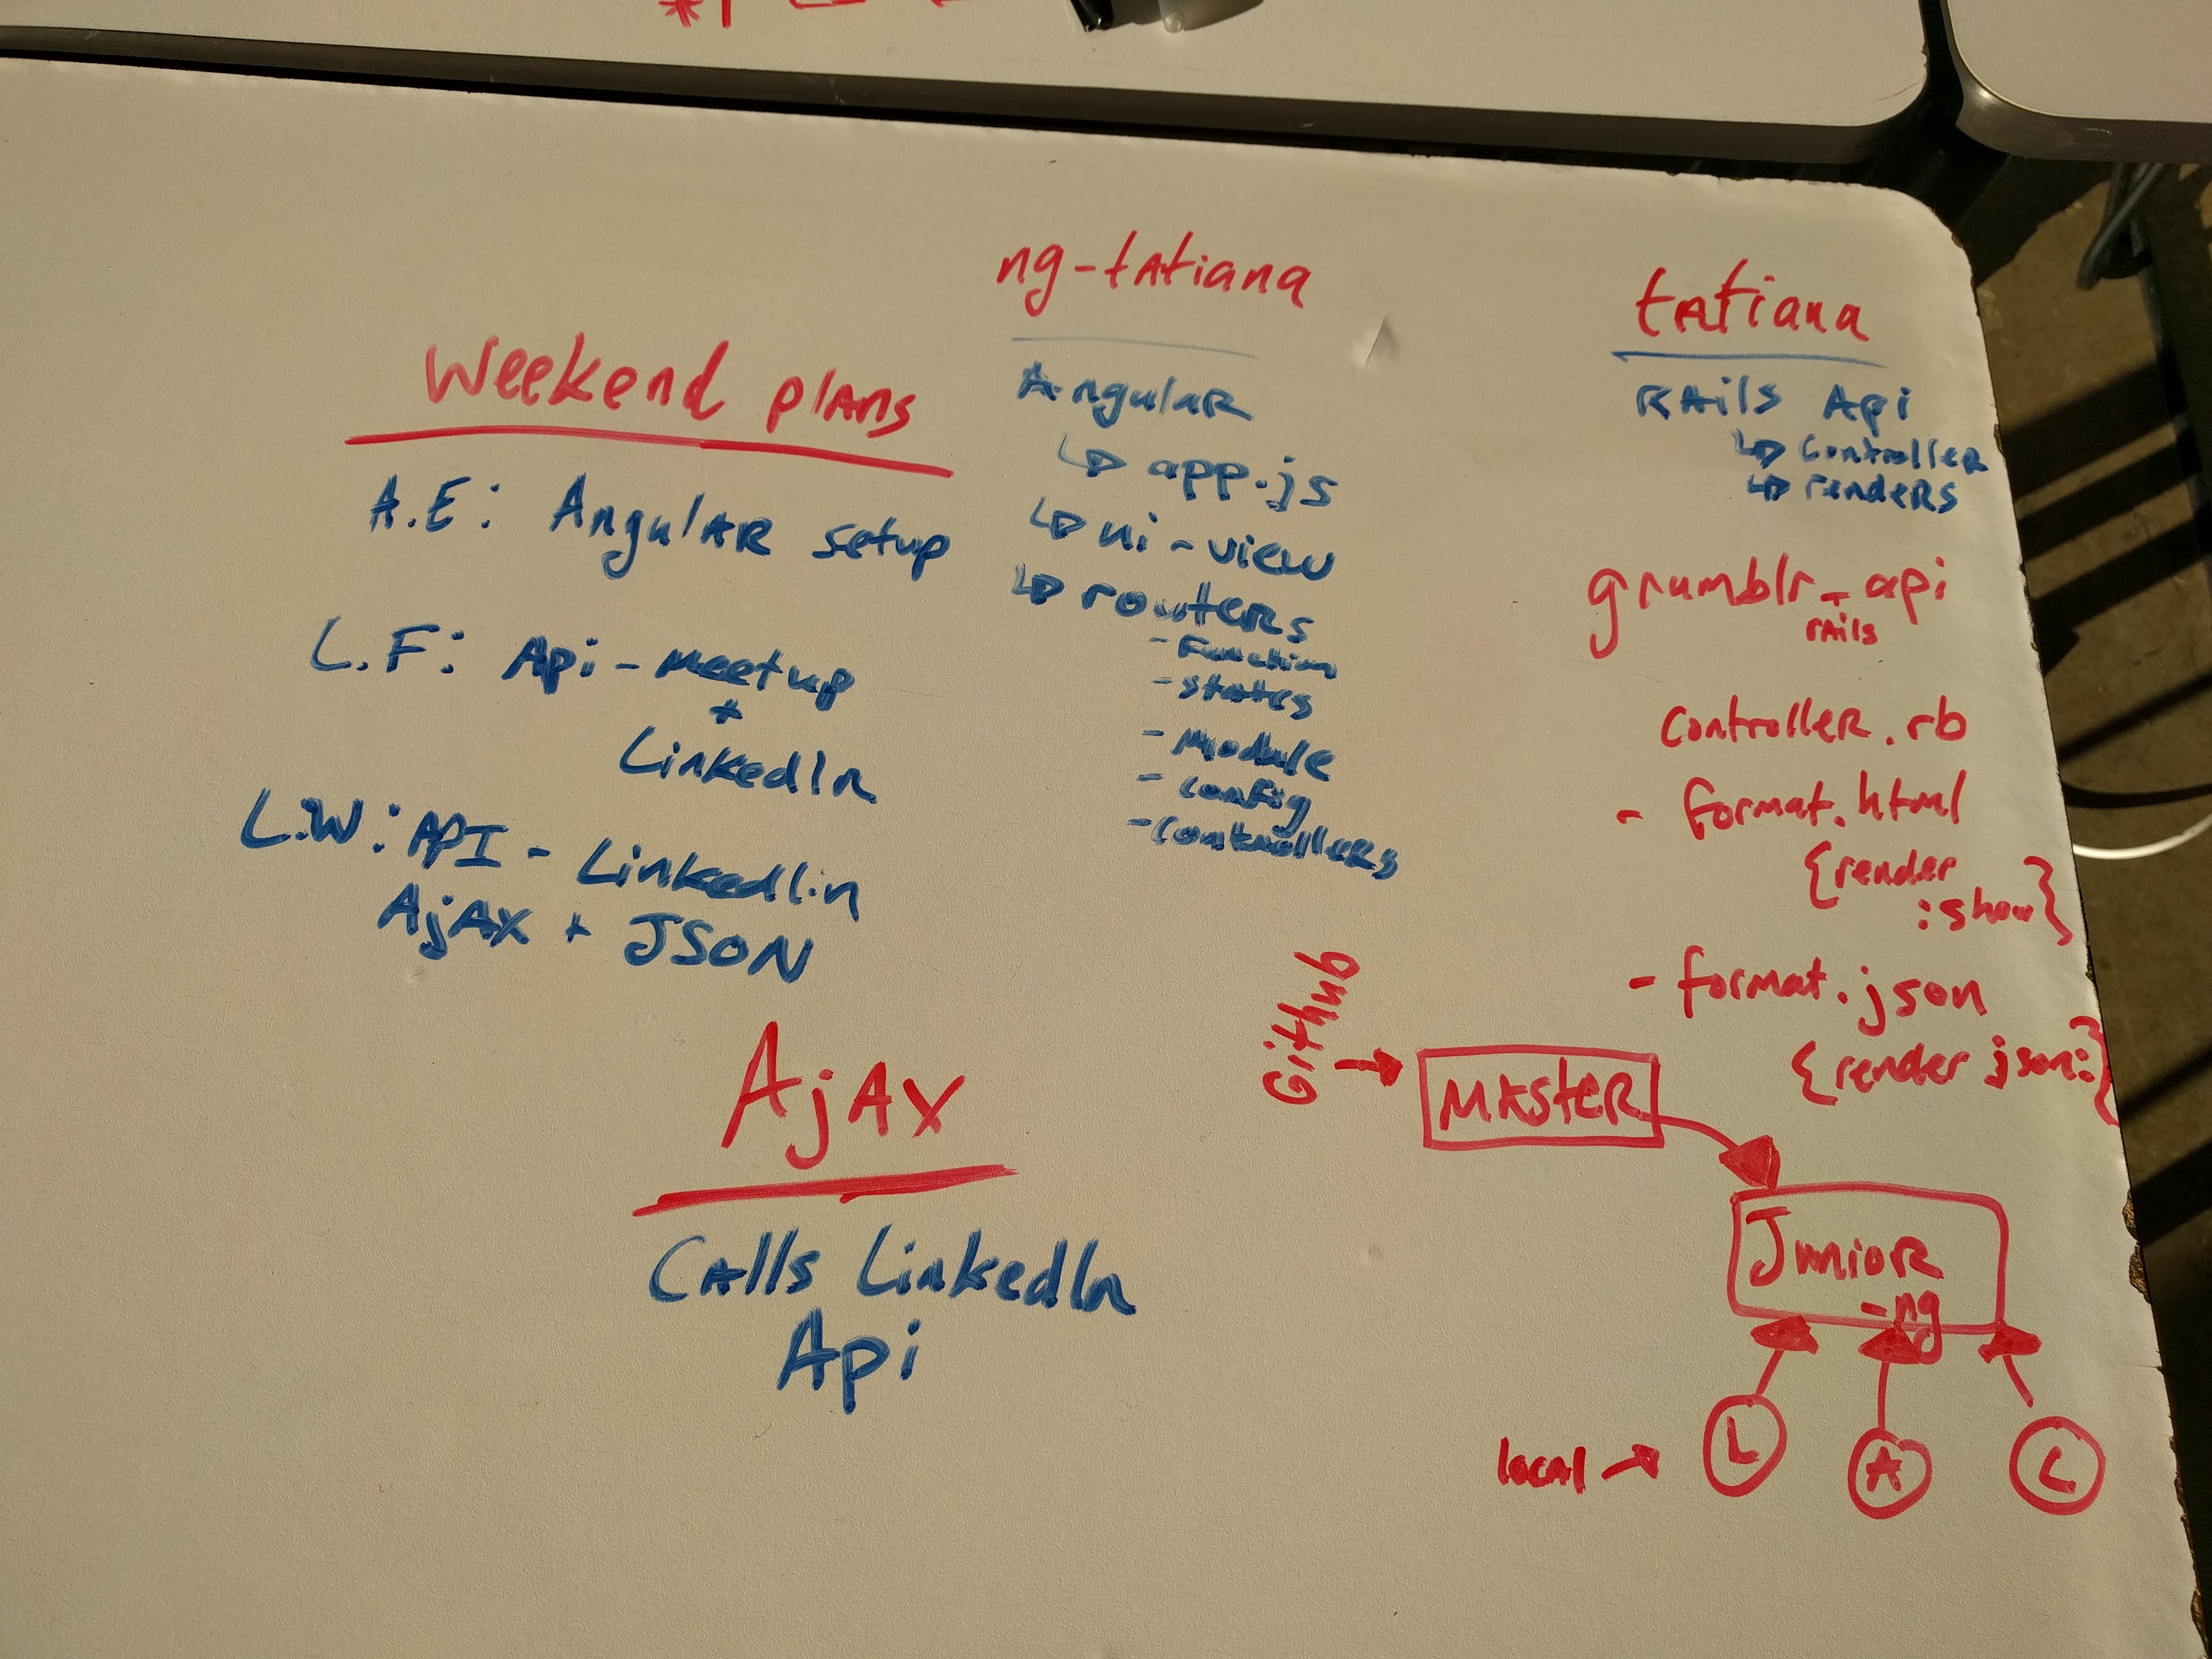
- An API of your own design, built using Rails, which serves JSON.
- Front-end Angular code that updates the UI, and makes requests to the API using AJAX.
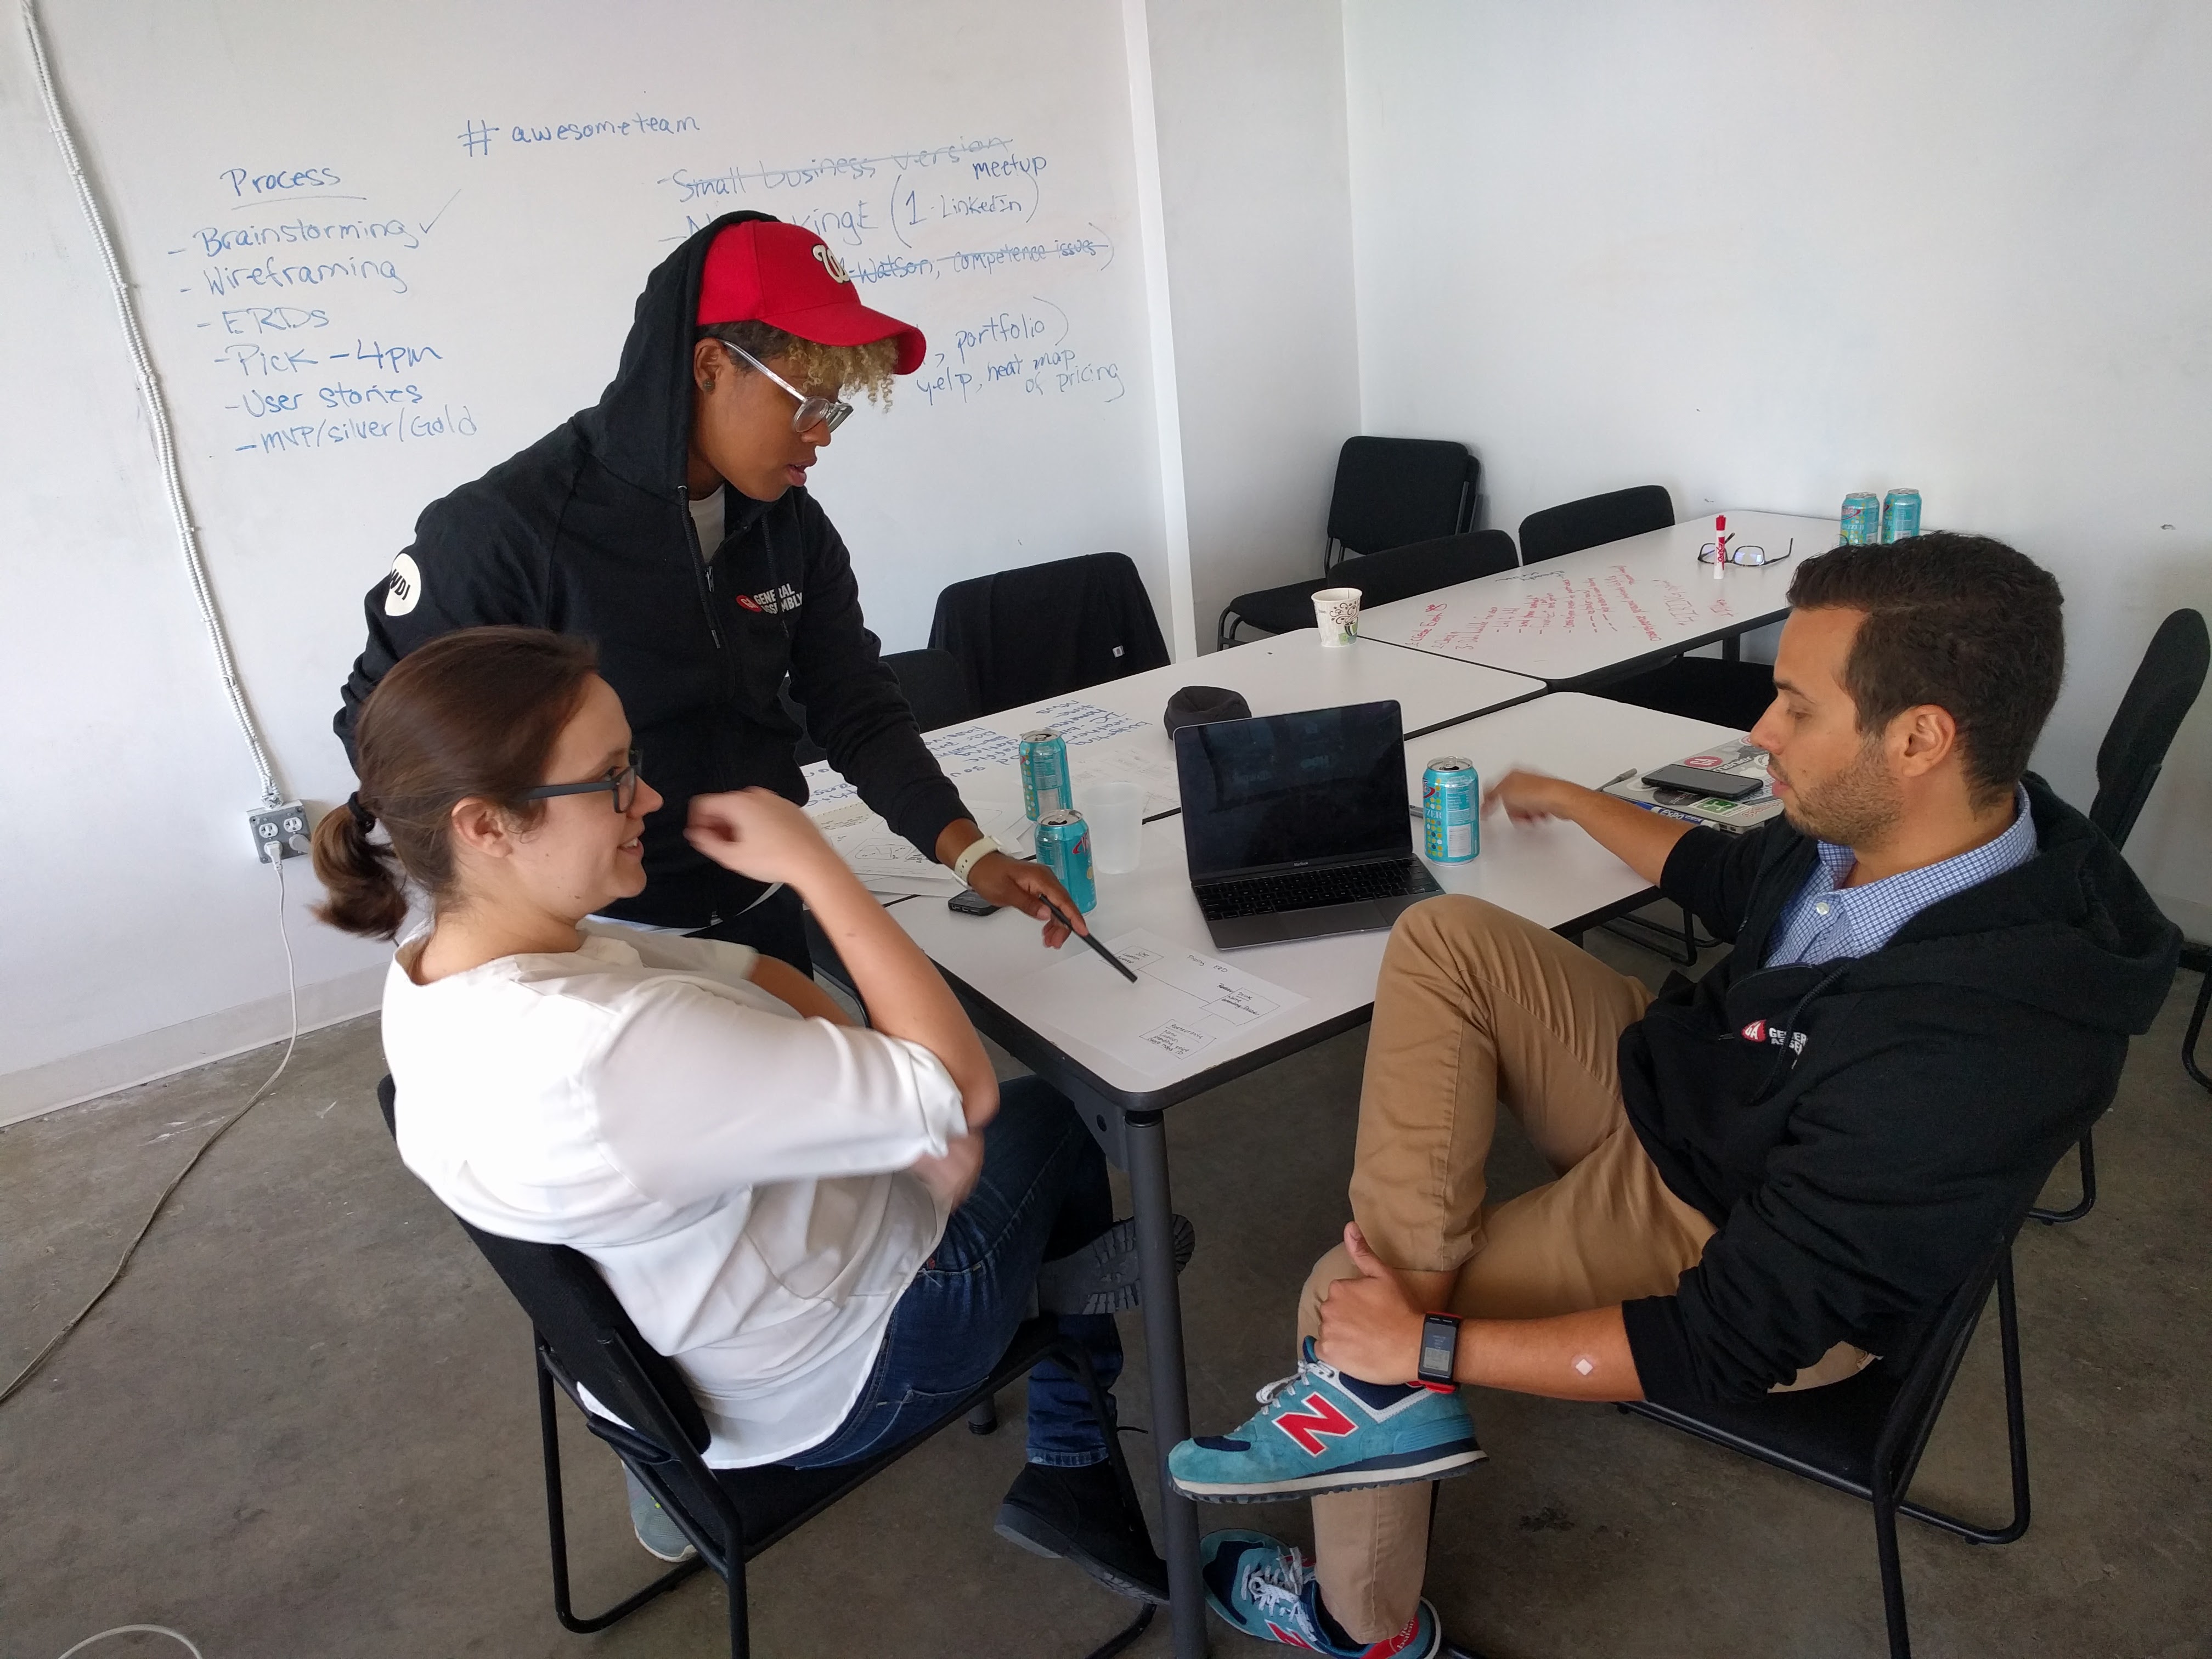
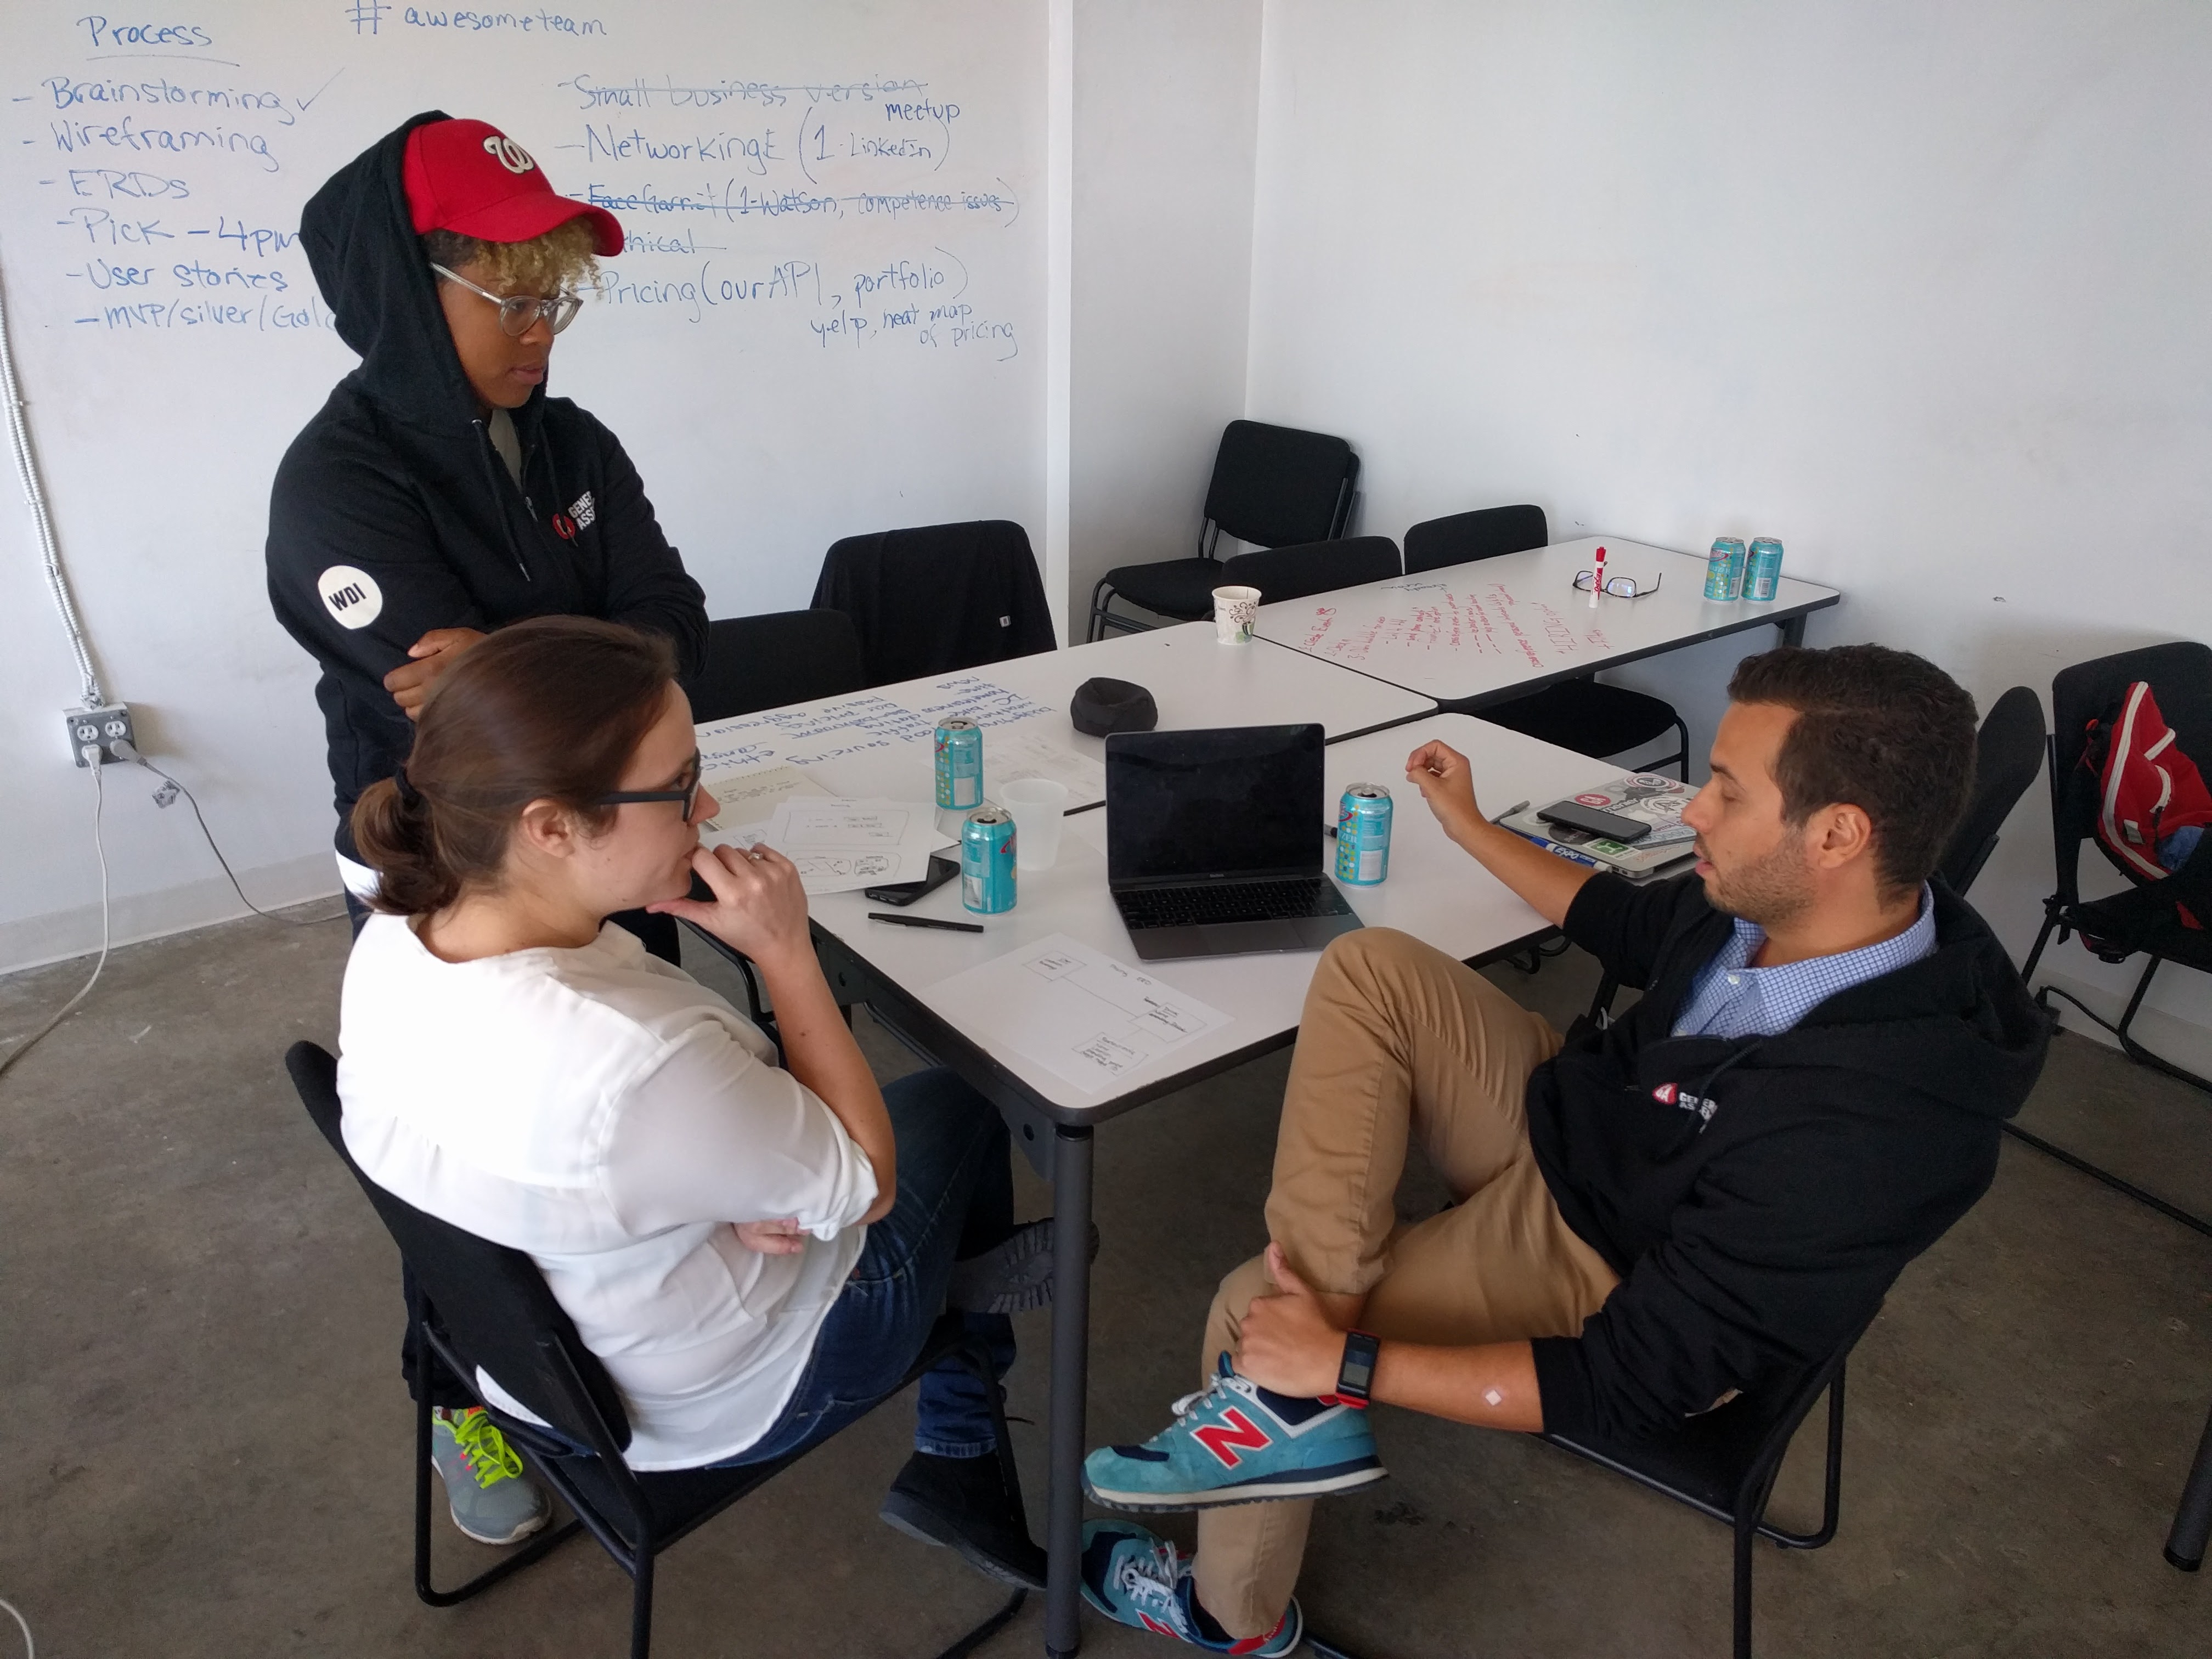
Our First Team Meeting
We spent a lot of time discussing and debating on the project topic. All three of us had very strong opinions on what type of project we should do. For instance, I wanted to create an application focusing on Google Maps API that stored prices on different items around the D.C. area. Other ideas included using an API from IBM that could do voice recognition (a bit much for a 4-day project!) and a networking application using Linkedin API.
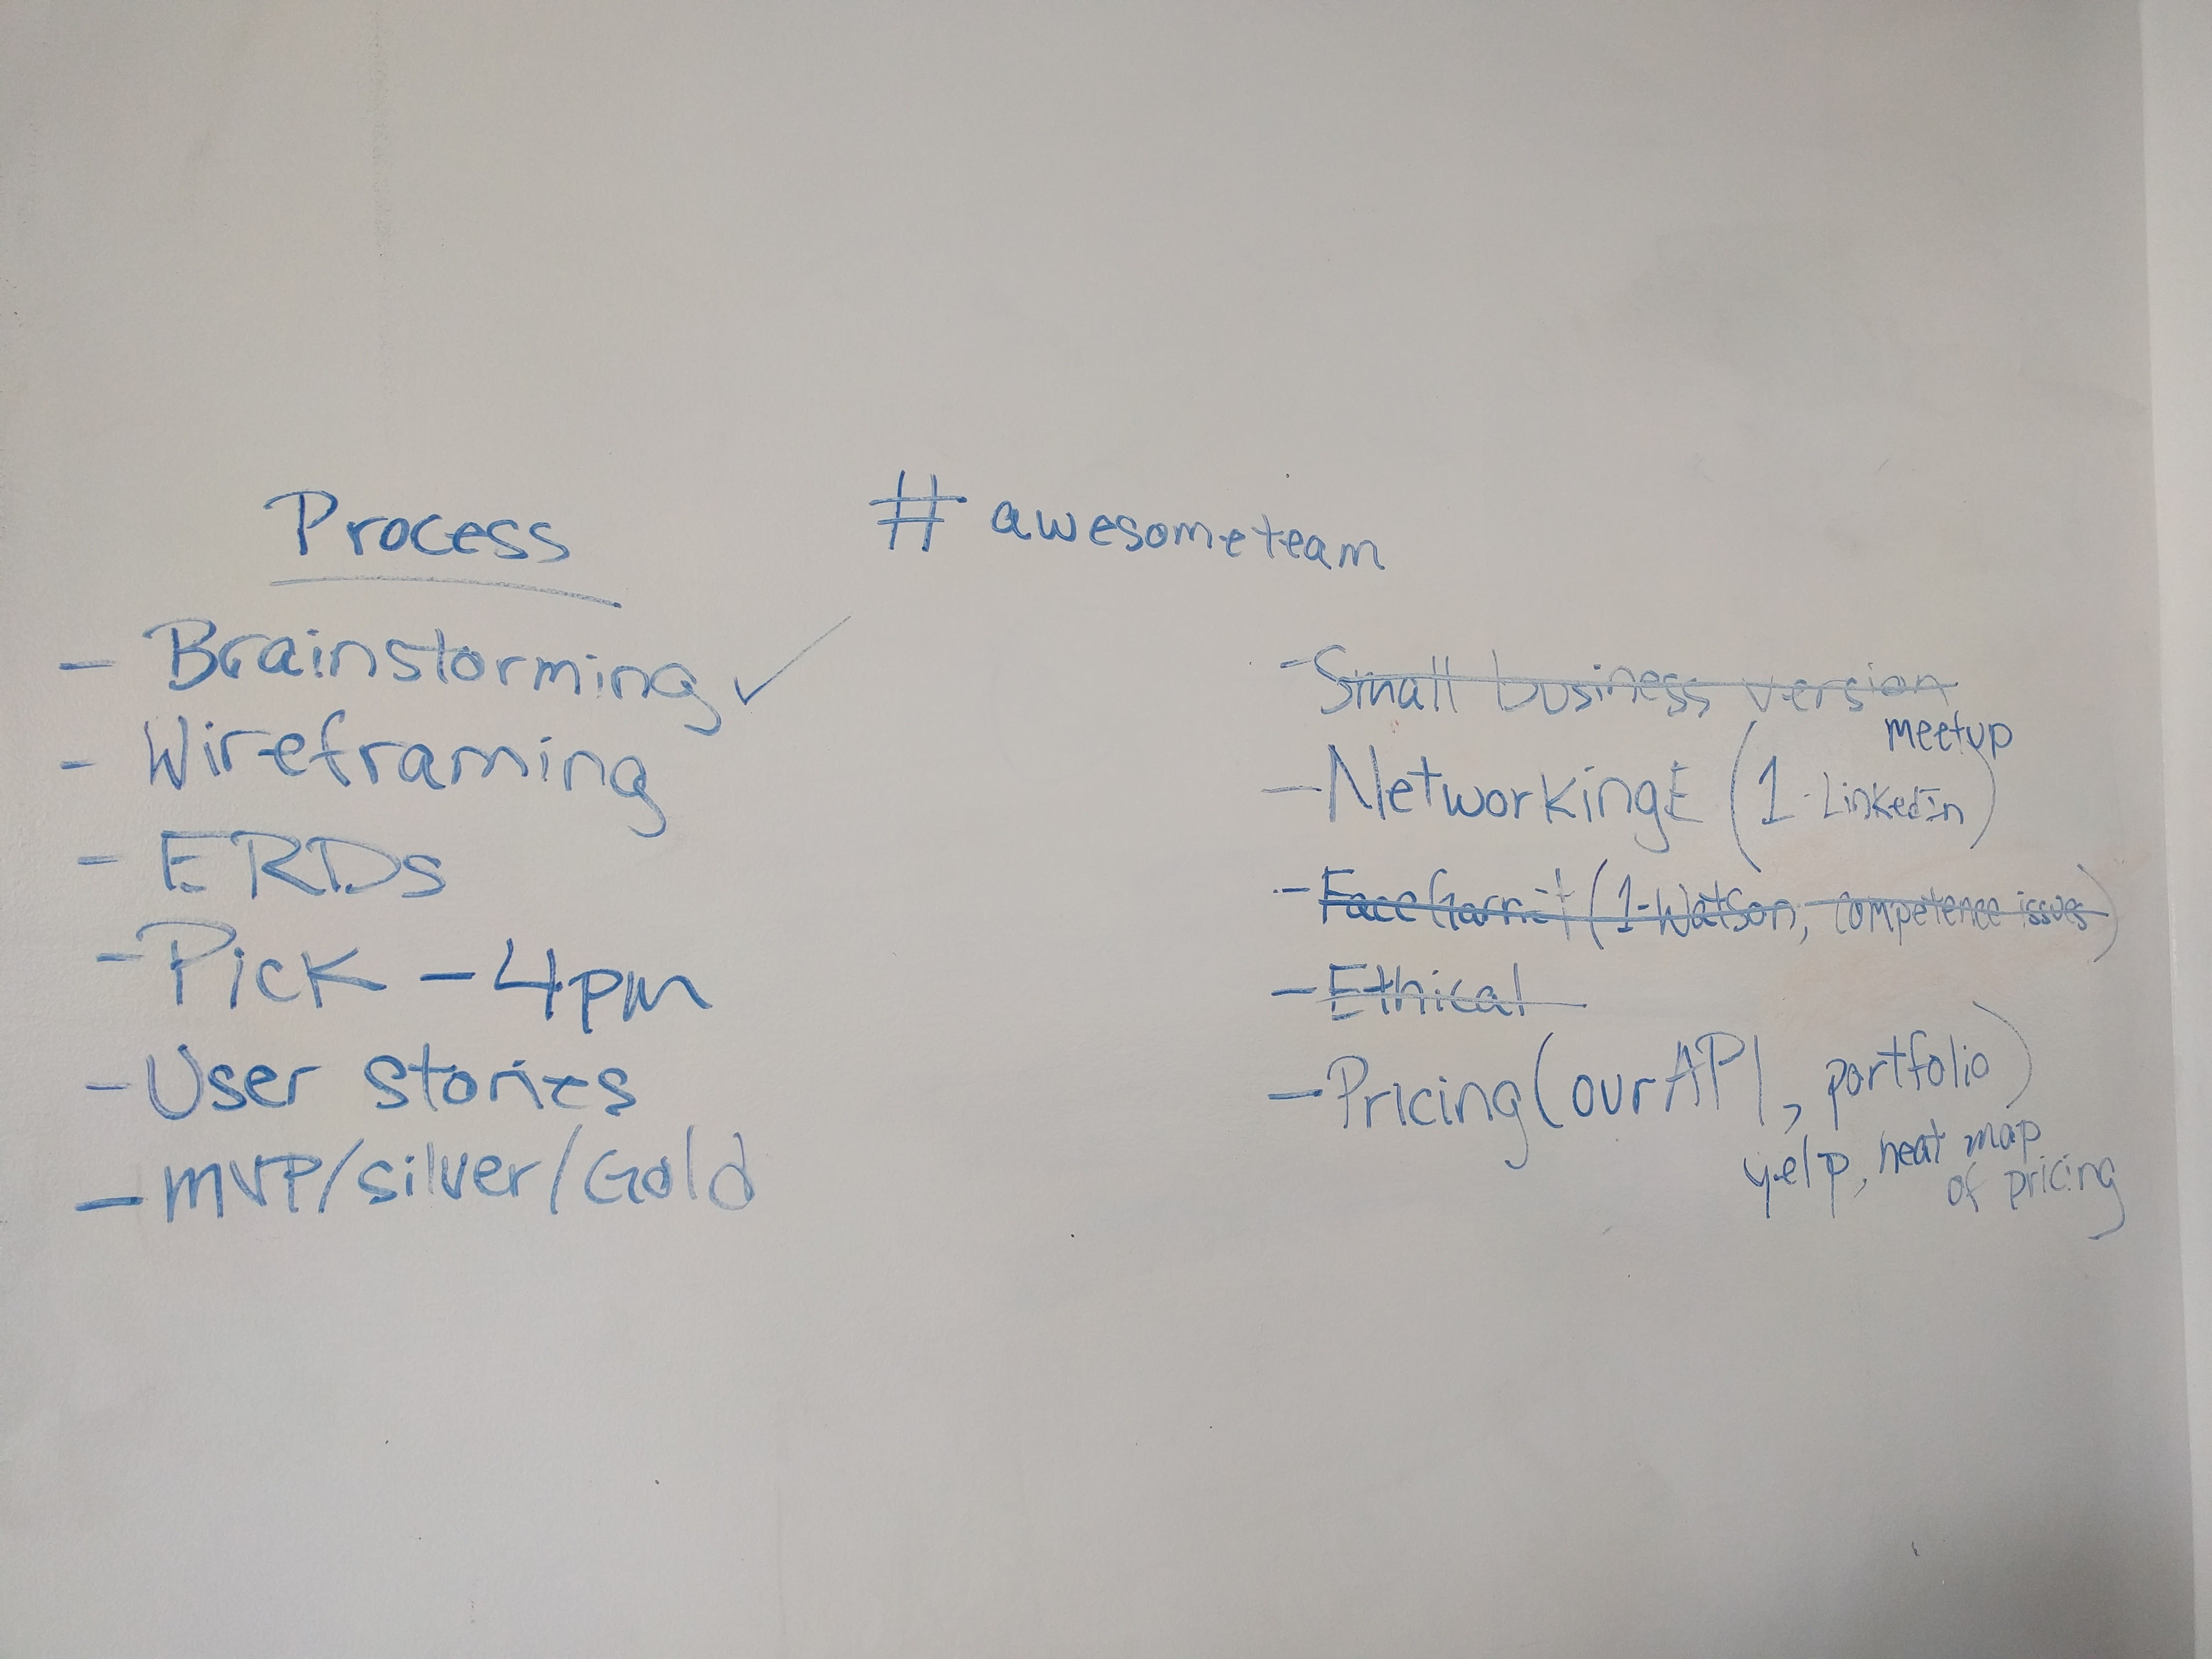
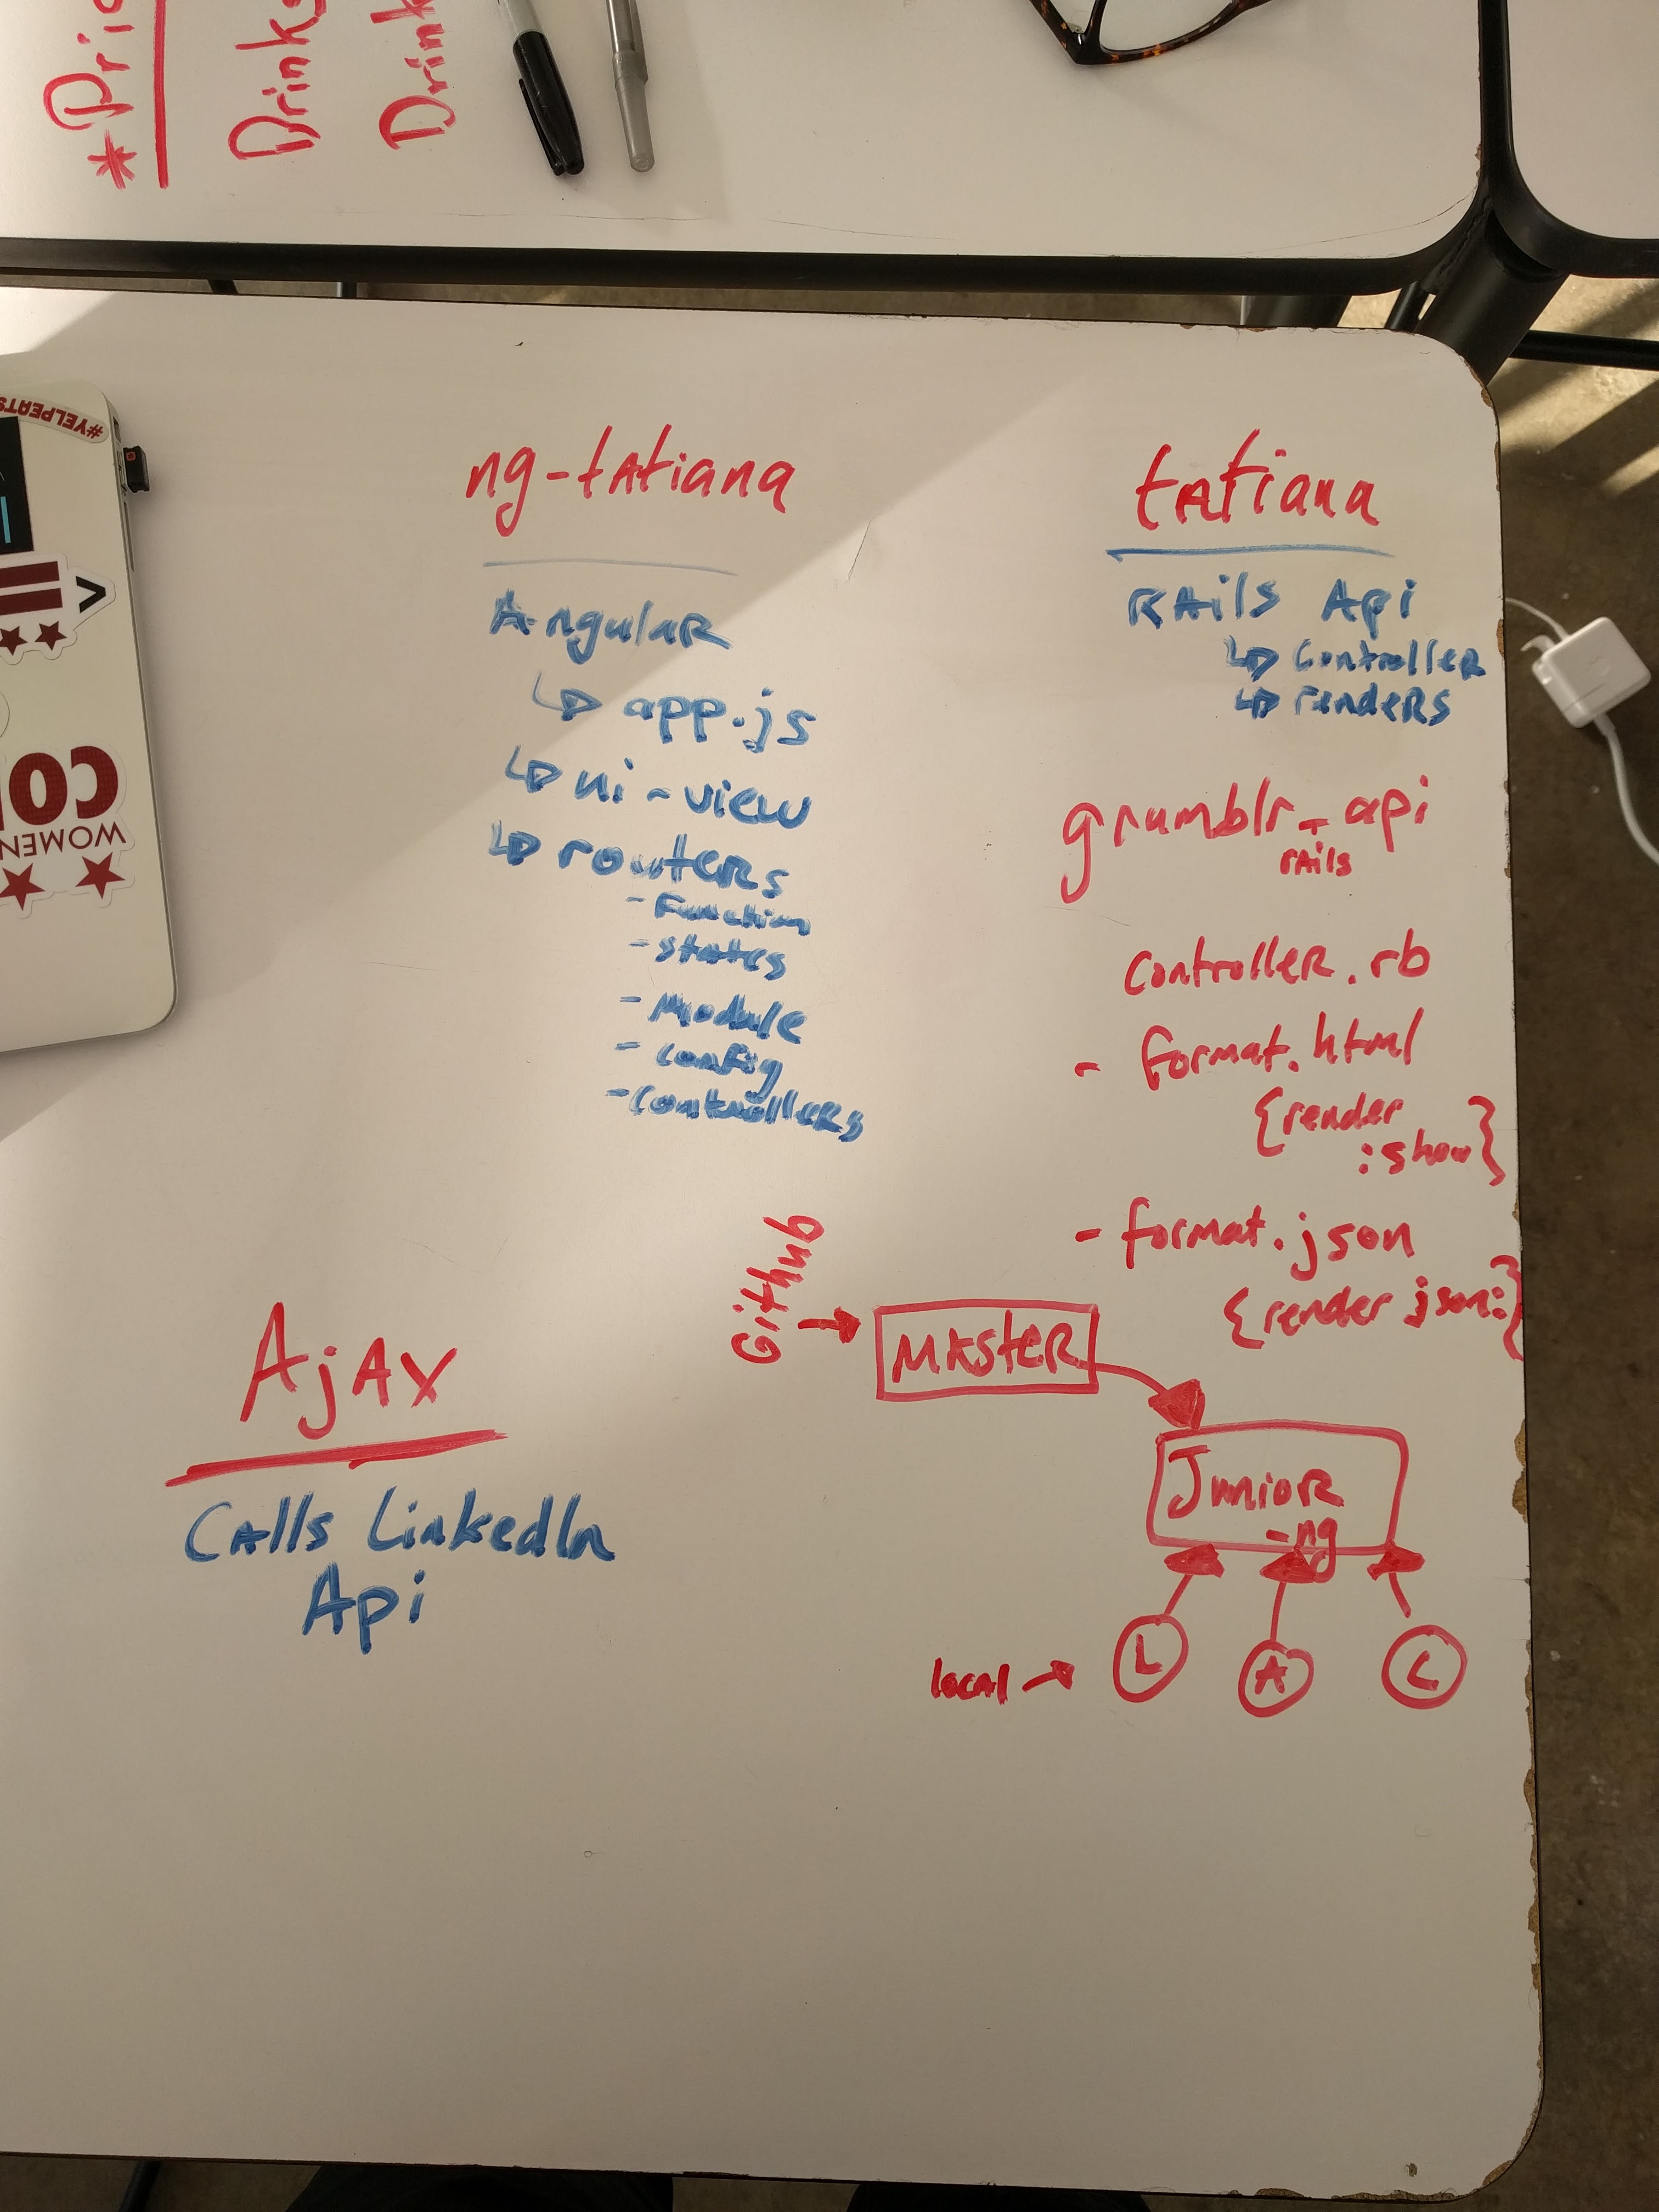
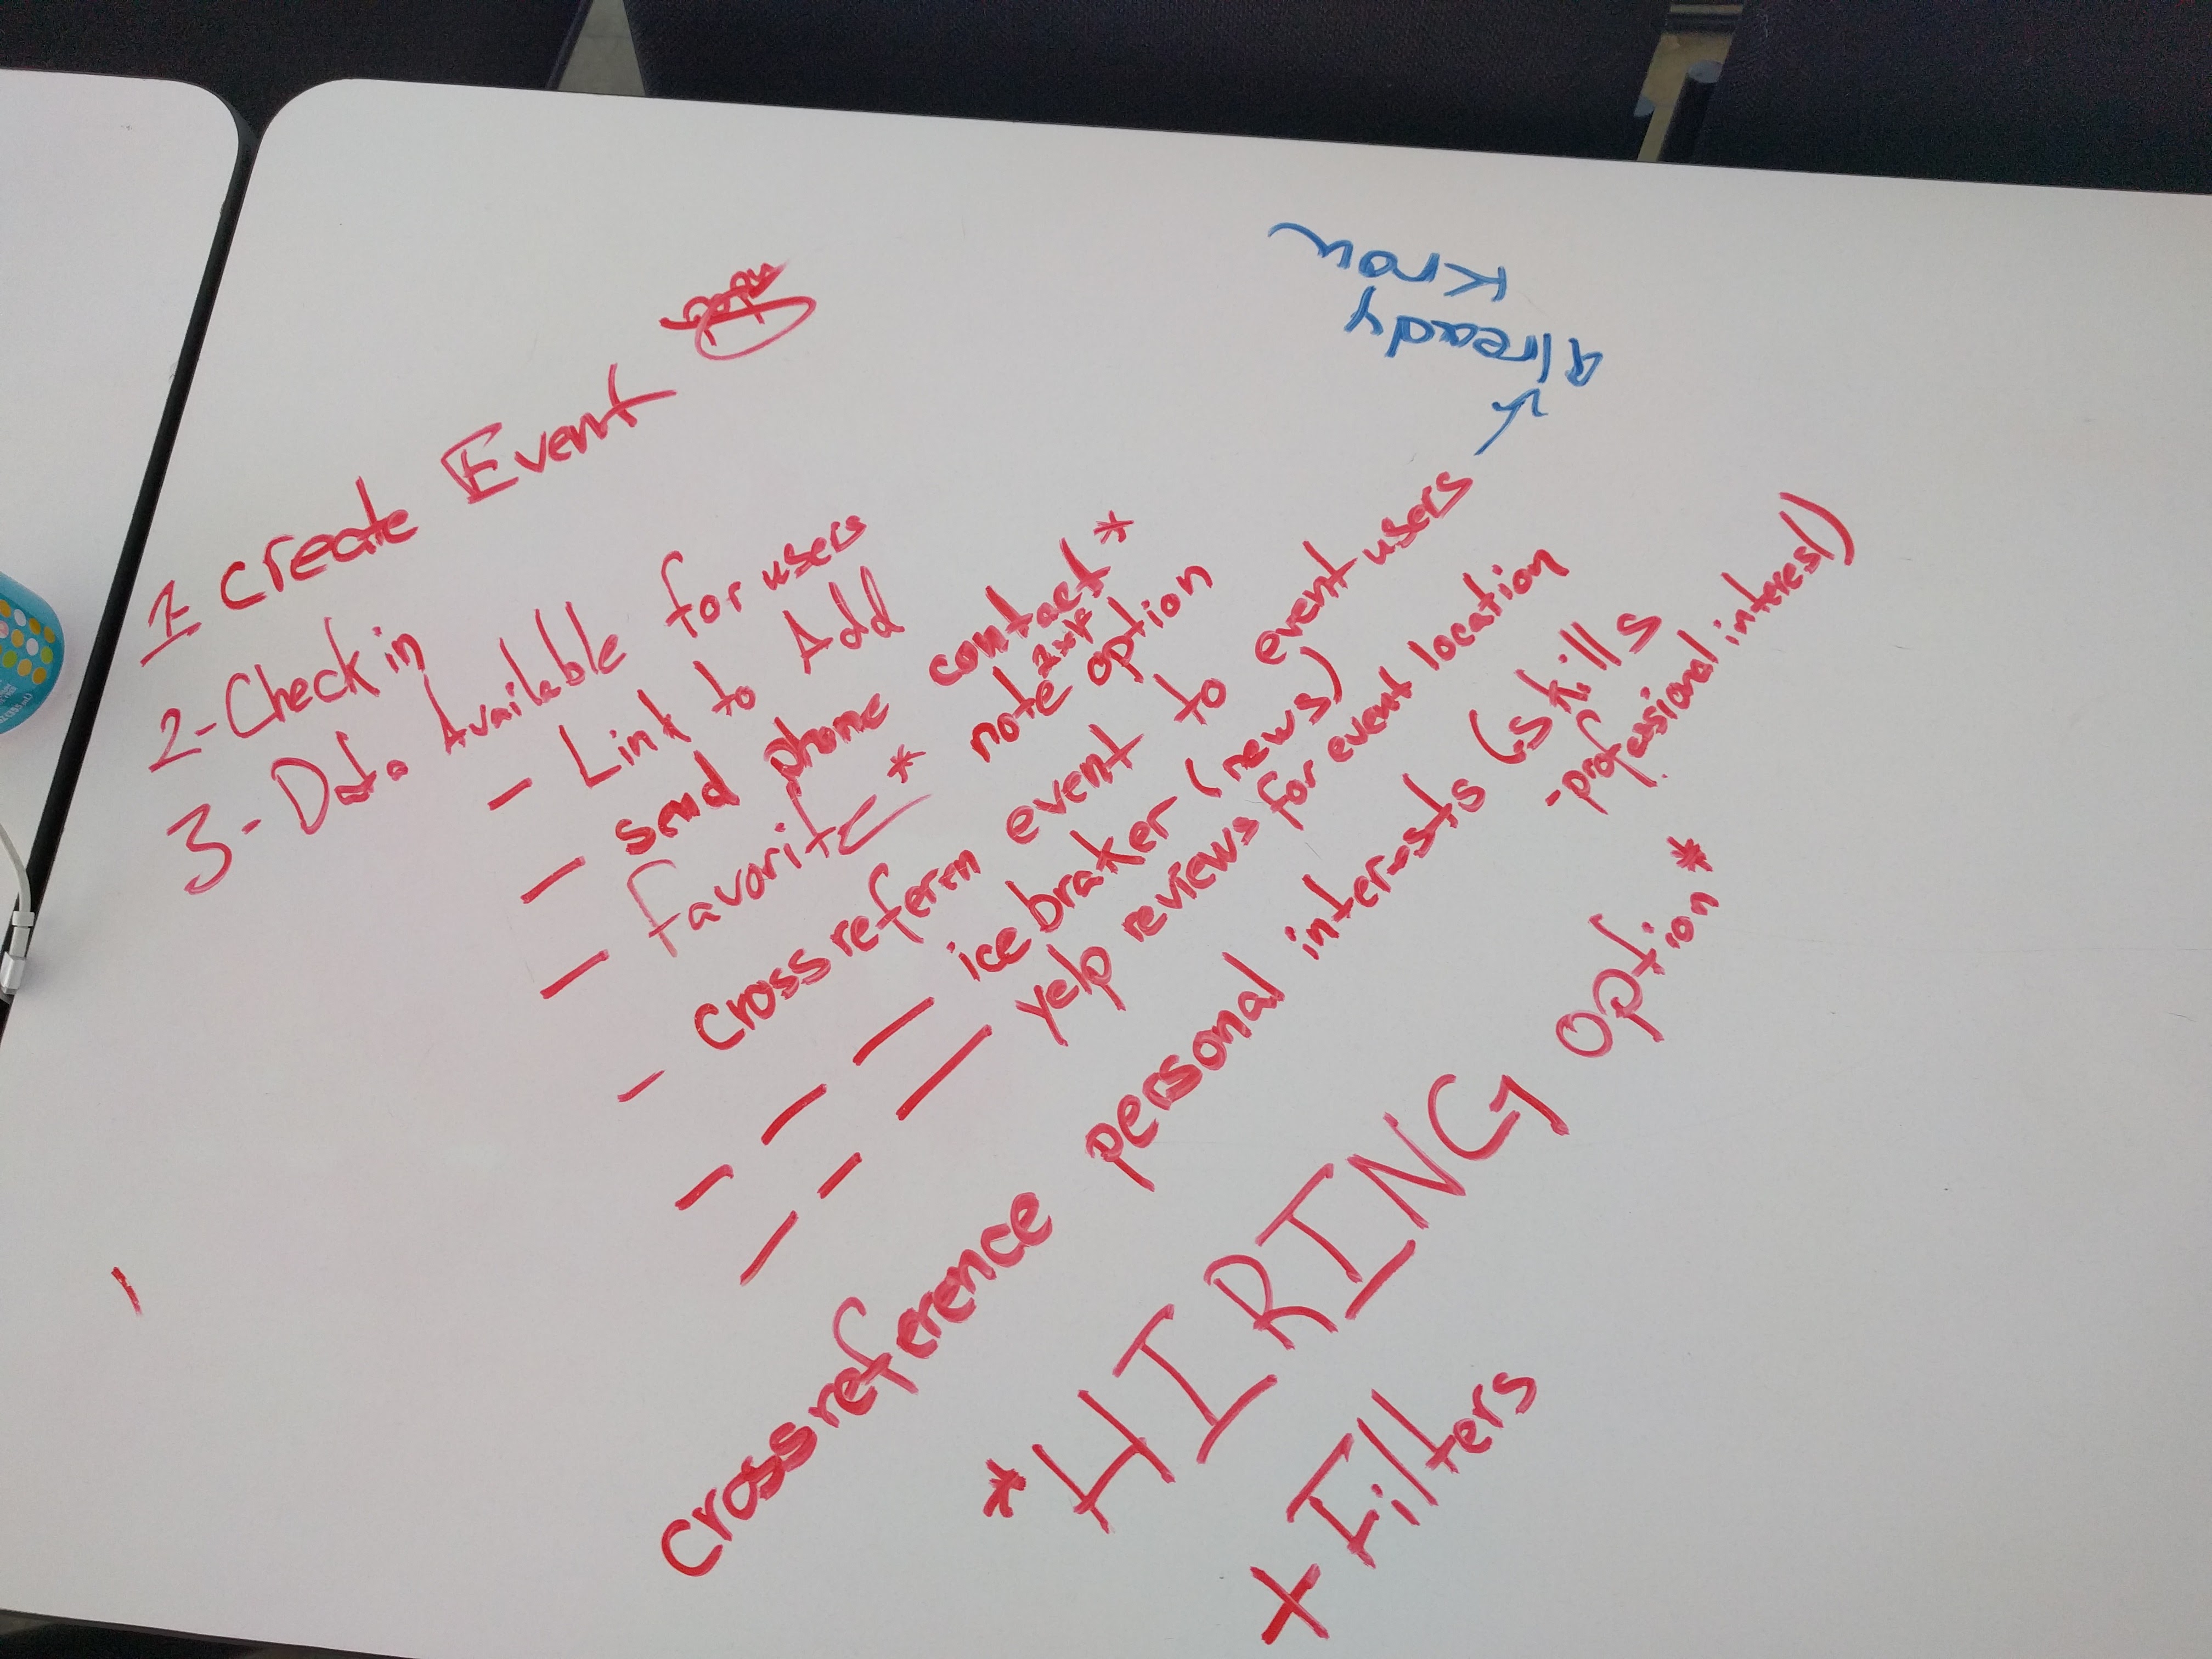
After creating ERDs, user stories and sketches of our top three projects, we finally decided to build a check-in application for networking events using LinkedIn’s API for user oAuth. We couldn’t decide on a name for it, so we did what any other project team would do and gave it a code name: Tatiana.
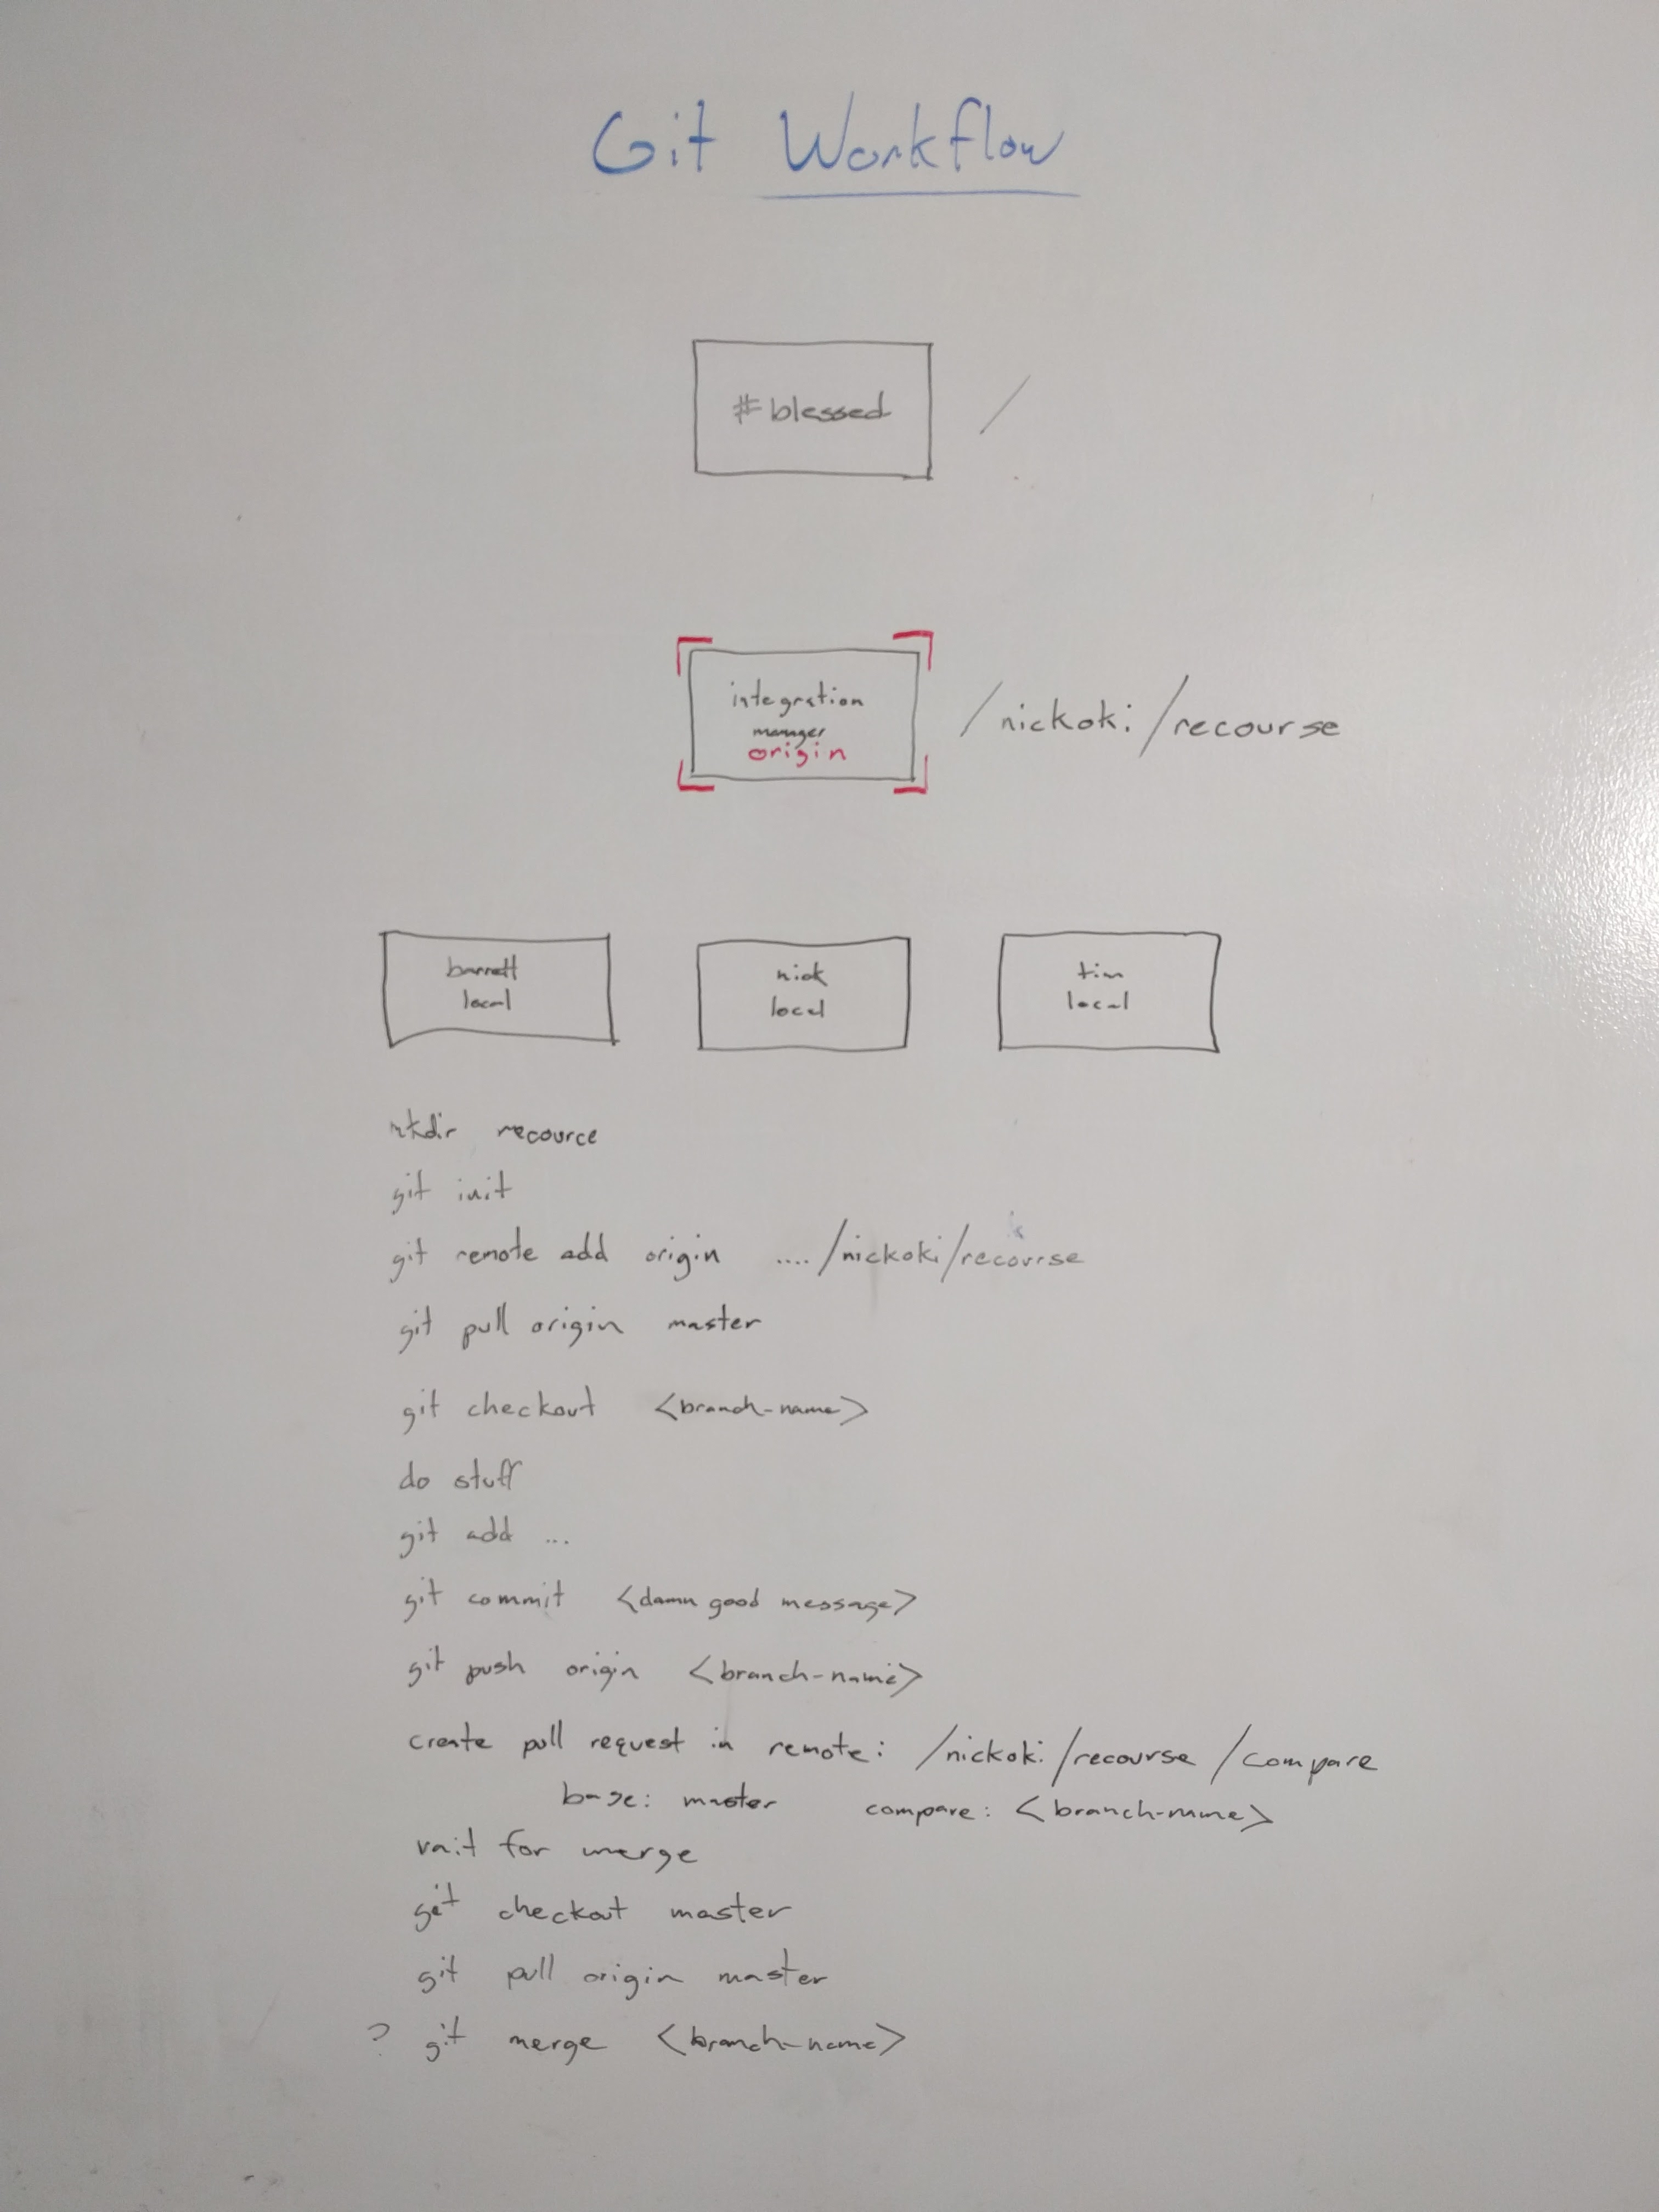
Alright! So we have our project idea. Next, we need to figure out our roles and responsibilities, our Git flowchart, hash out the steps to success, and what’s going to get done, if anything, this weekend (remember we started the project on Friday this time).
Monday - Thursday
Work, work, work, work, work! I’d say on an average we spent 12-14 hours a day working on this project… averaging ~50 hours of work collectively to hit our goal.
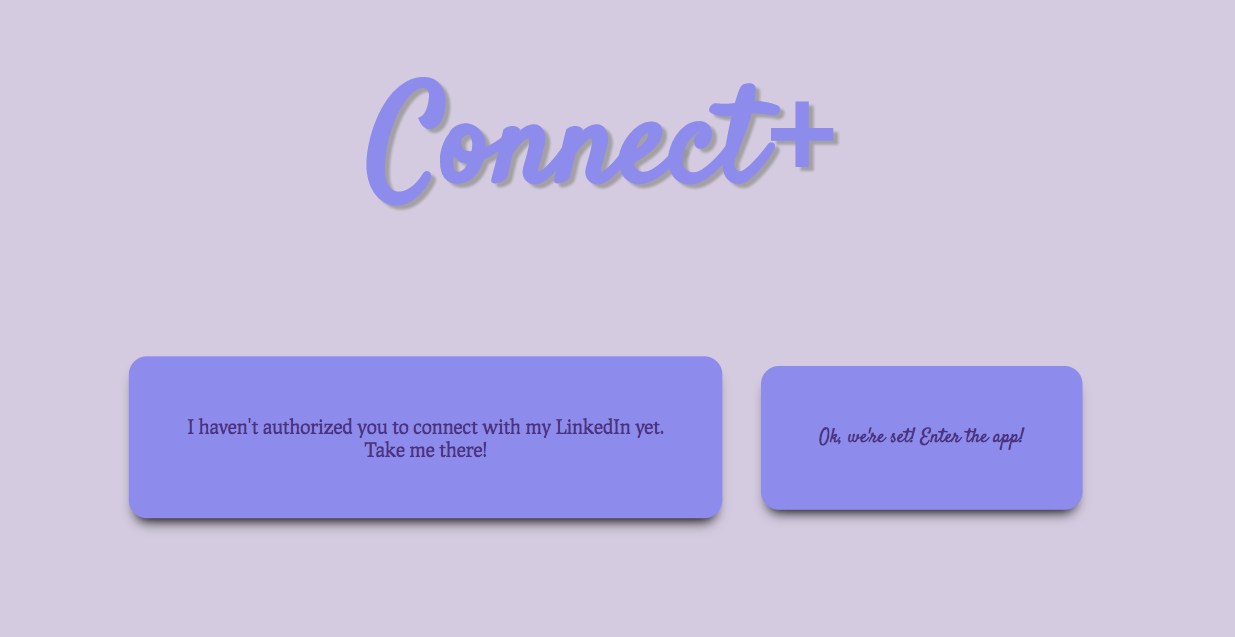
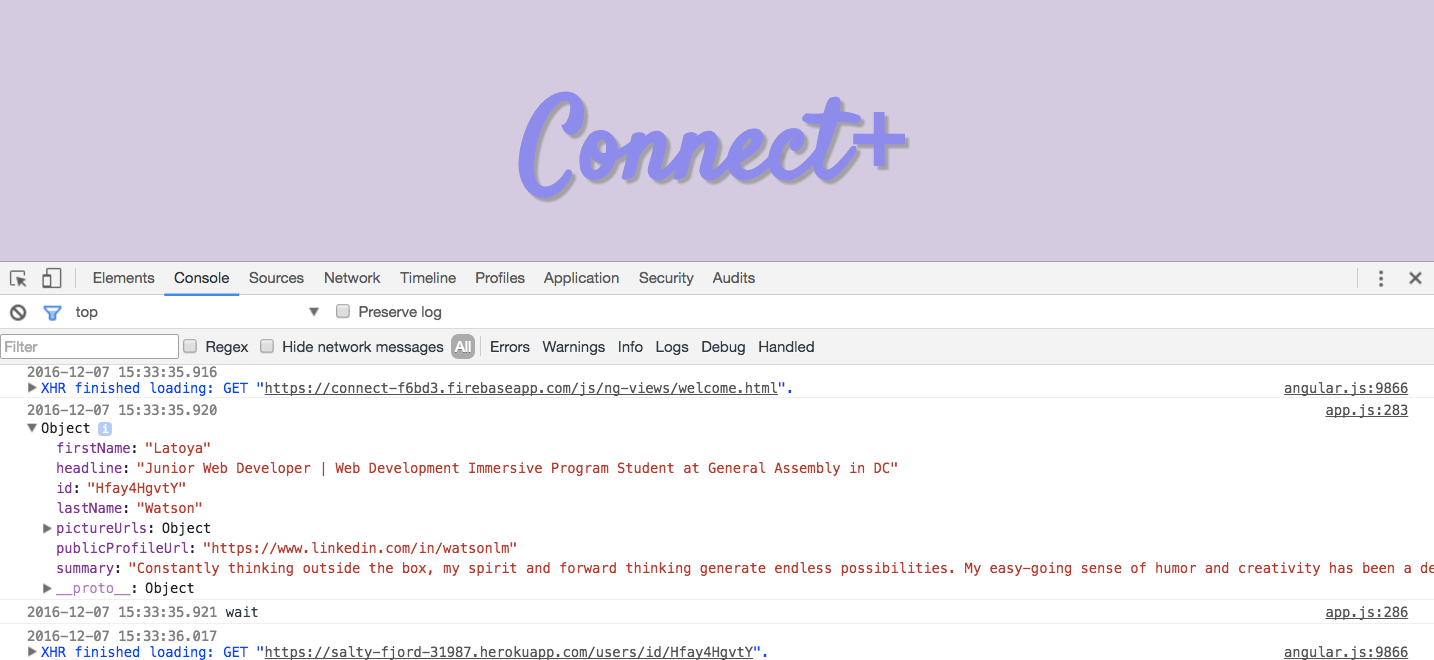
In the end, we built a neat little application called Connect+
Connect+
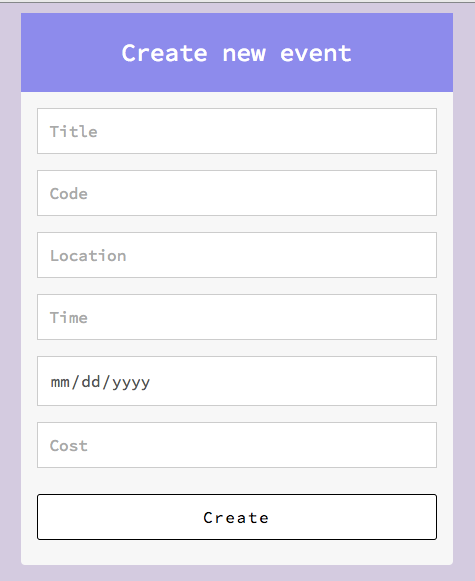
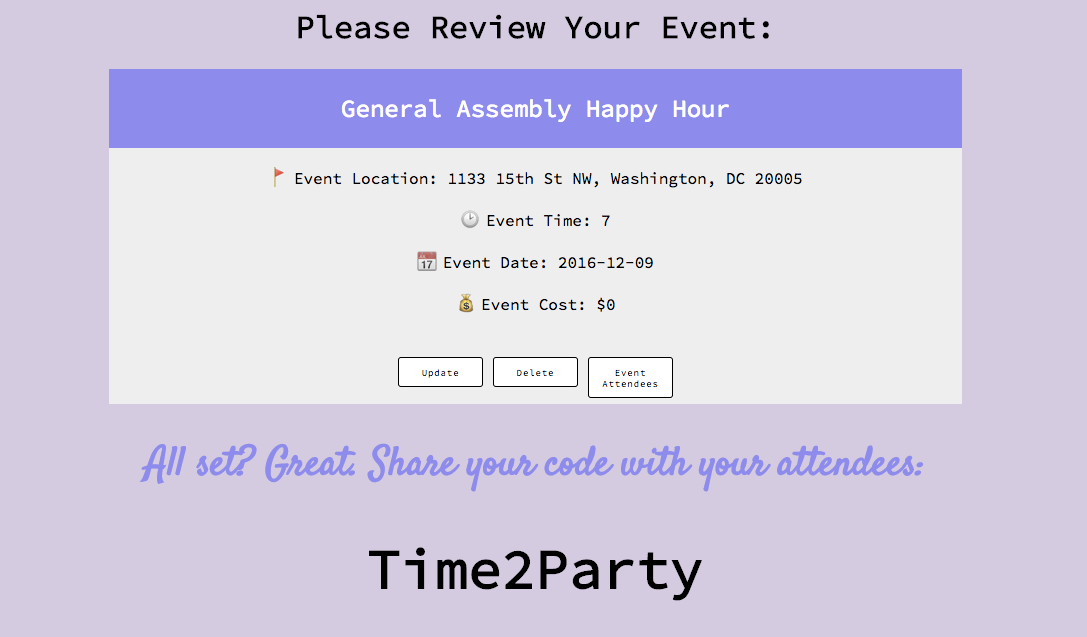
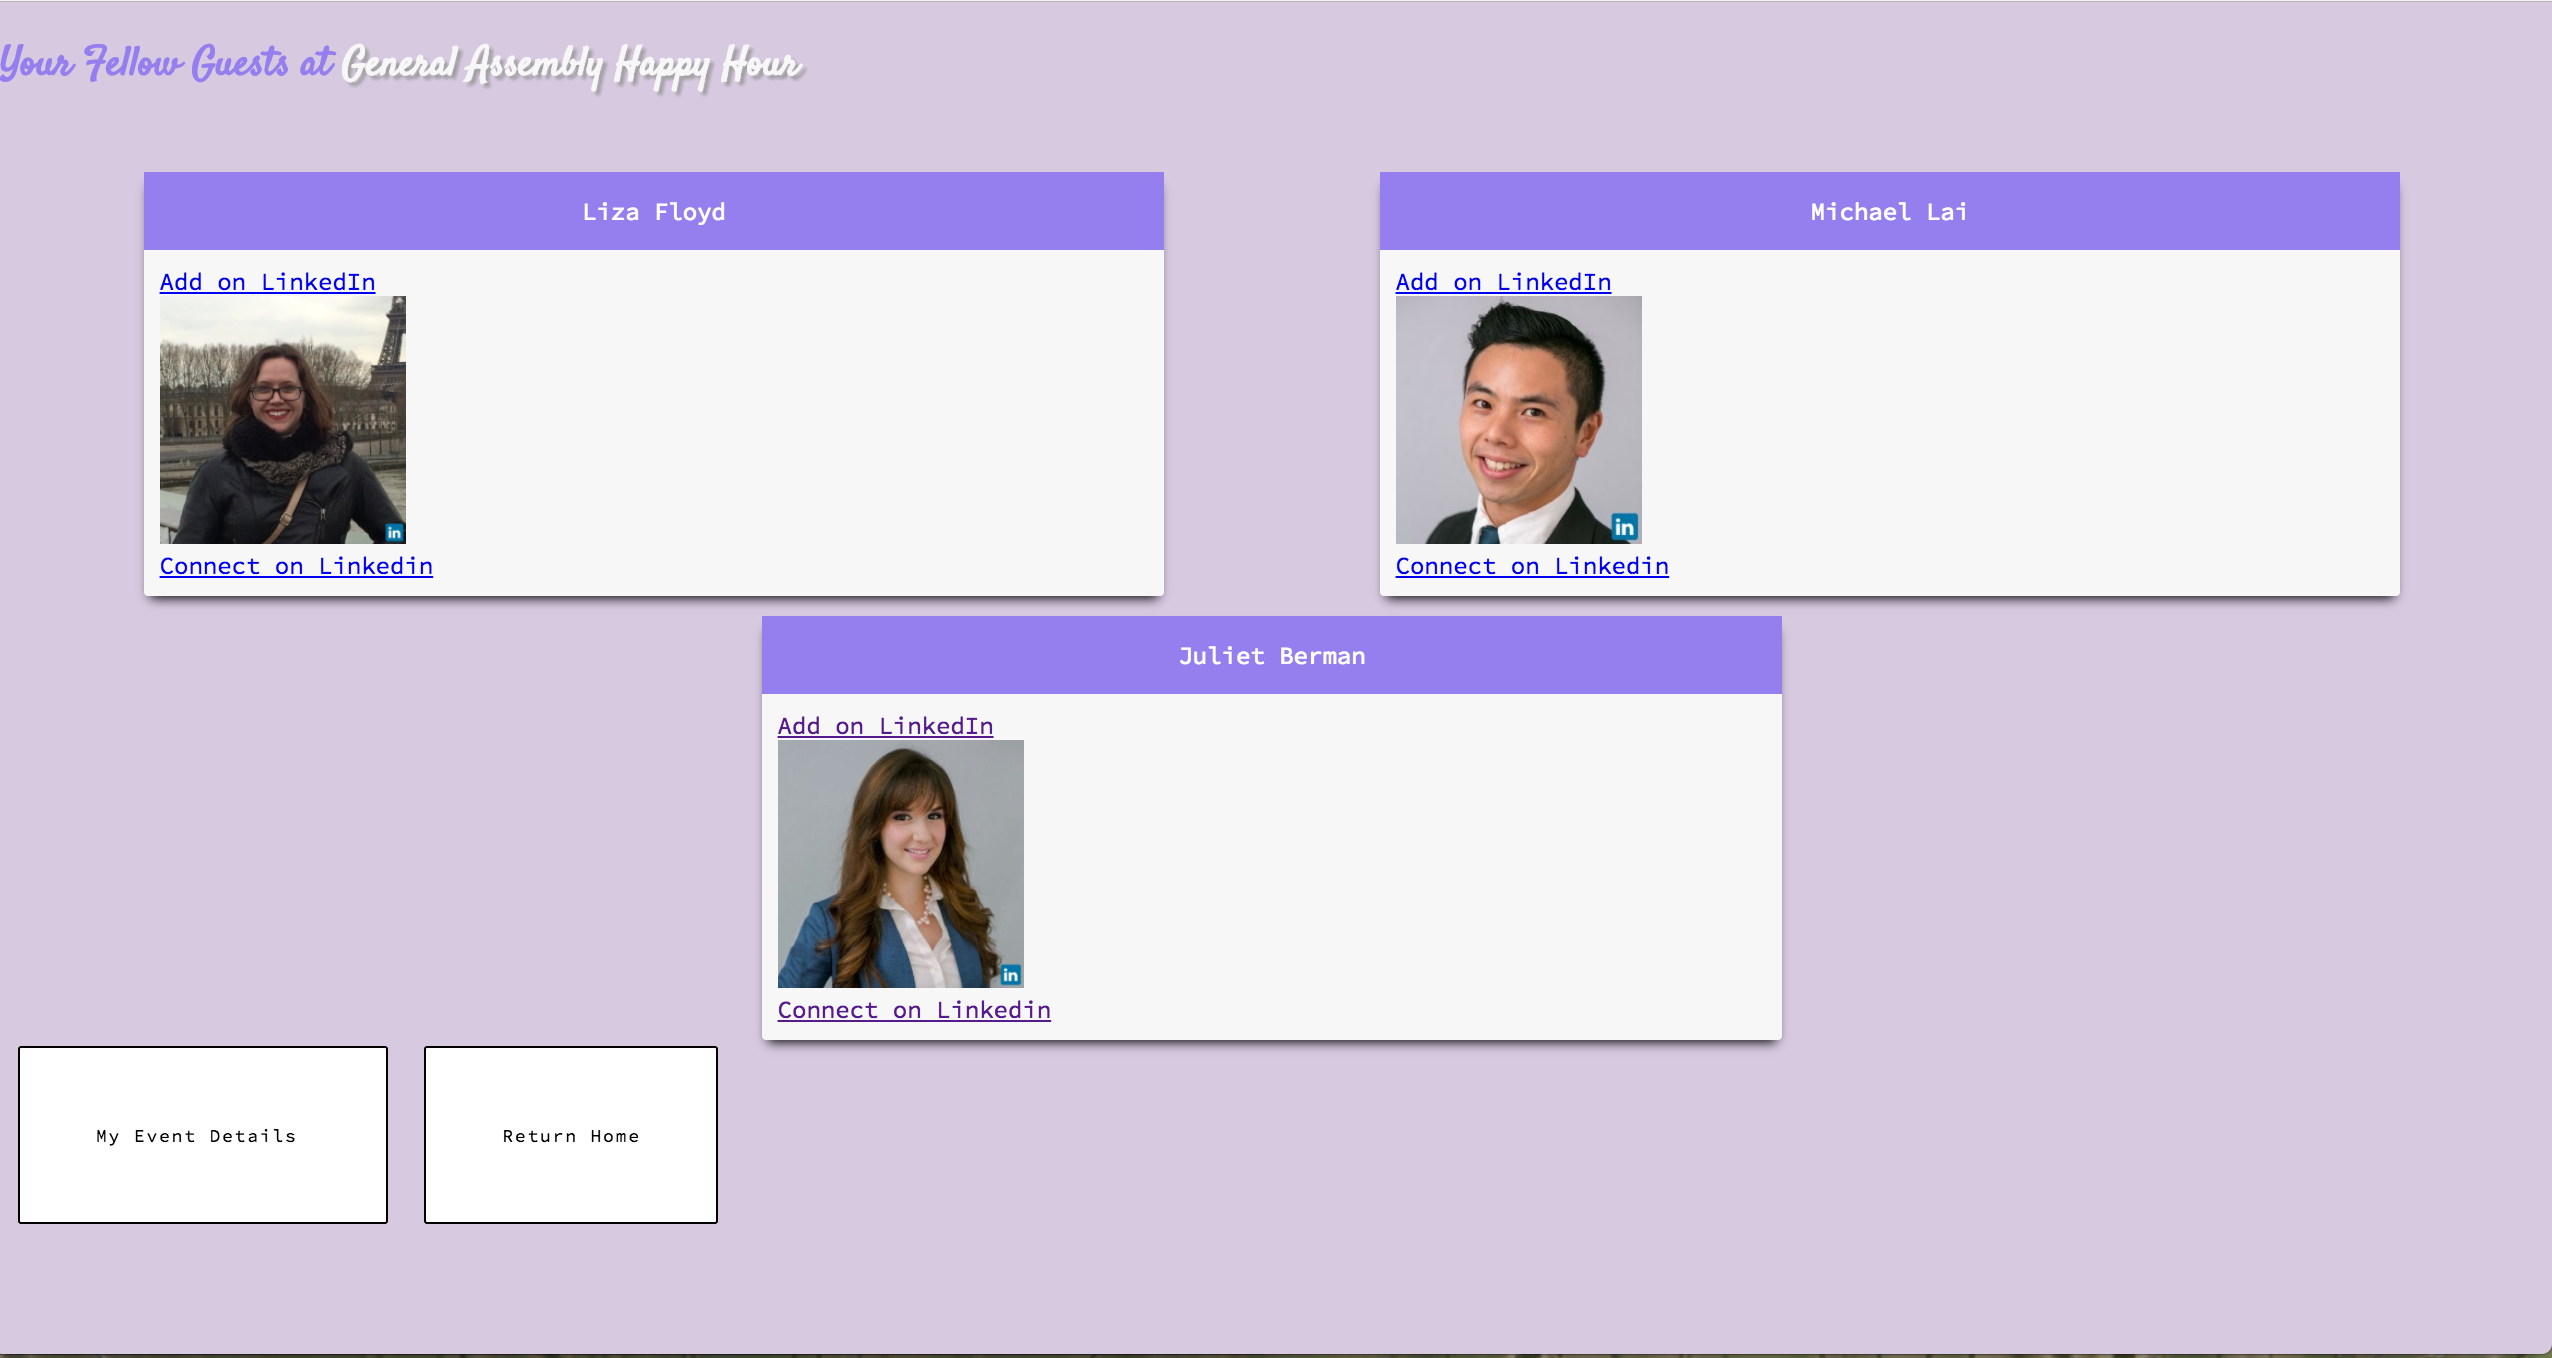
Connect+ was built to be a Networking Event Attendance Management system where event owners can create events using a secret code, share it with attendees and attendees can check-in, view other attendees at the event and easily connect with them on Linkedin - all in one place.
Why and What It Really Is
Have you ever been to a networking event where you met tons of people, only to forget to connect on LinkedIn or forget to grab business cards or forget their names!? With Connect+ you won’t need to worry about forgetting who was at the event! Simply log in with your LinkedIn credentials and enter the secret word given by the host, and you’ll see all the attendees at the same event!
Haha, so that was our project pitch for why our app is so cool! What do ya think?
We’re very happy how everything turned out, although, the CSS could use a lot of work (we promised that we would reconnect one weekend and style it), the functionality of the app works perfectly. We are definitely proud of this project and really feel like it’s super valuable!! How cool would it be if we got LinkedIn to adopt it!
Technologies Used
For the back-end, Connect+ uses a PostgreSQL database. We accessed its Ruby on Rails API through Active Record, to return JSON to the front-end. The front-end is handled by AngularJS. Connect+’s API is hosted on Heroku, and the front-end is on FireBase. The application accesses the LinkedIn API through OAuth 2.0.
Installation
Connect+ requires two repositories. The back-end repo can be found at:
For the back-end, install dependencies using bundle install
And the front-end repo can be accessible at:
If you are looking to install the front-end, please install dependencies using npm install
View it live!
To view Connect+ live, please visit this link: View it Live!
The Presentation
Each member of the group had to participate in the presentation.
The presentation should be 10-minutes, with 5 minutes allotted for questions.
Whew!!!
What a week!! But it’s only Thursday so let’s get into Friday…
Day 5: Slips && Intro to Express && Mongo / Mongoose Intro
Slips: 1 Hour
You remember this, right? Digital flashcards in front of our class. We all take turns standing up in front of the class and answer a random question. One by one… so. much. fun. (can you sense the sarcasm?)
Intro to Express: 2.5 Hours
Learning Objectives for Express:
- List common reasons Javascript is used for server applications
- Compare and contrast Javascript in the browser vs JS on the server
- Compare and contrast express.js to Rails / Sinatra.
- Use npm to manage project dependencies
- Use module.exports and require to organize code
- Use Handlebars templates to simplify rendering in express
- Use and configure middleware, e.g. body-parser to handle form submissions
- Link to static assets in an Express application
This is SO much stuff. We’ve pretty much covered the entire stack. Everything we covered from here on out is an extension of what we’ve already learned or a different language than we’re used to. Today we talked about expressJS the “e” in the MEAN stack. Which incidentally is super buzz-wordy right now. Express is a framework built on top of node.
So, we npm install --save express and spent the class building our views with Handlebars, created forms with body-parser and completed our first Express app! Homework was assigned and campus lunch was served.
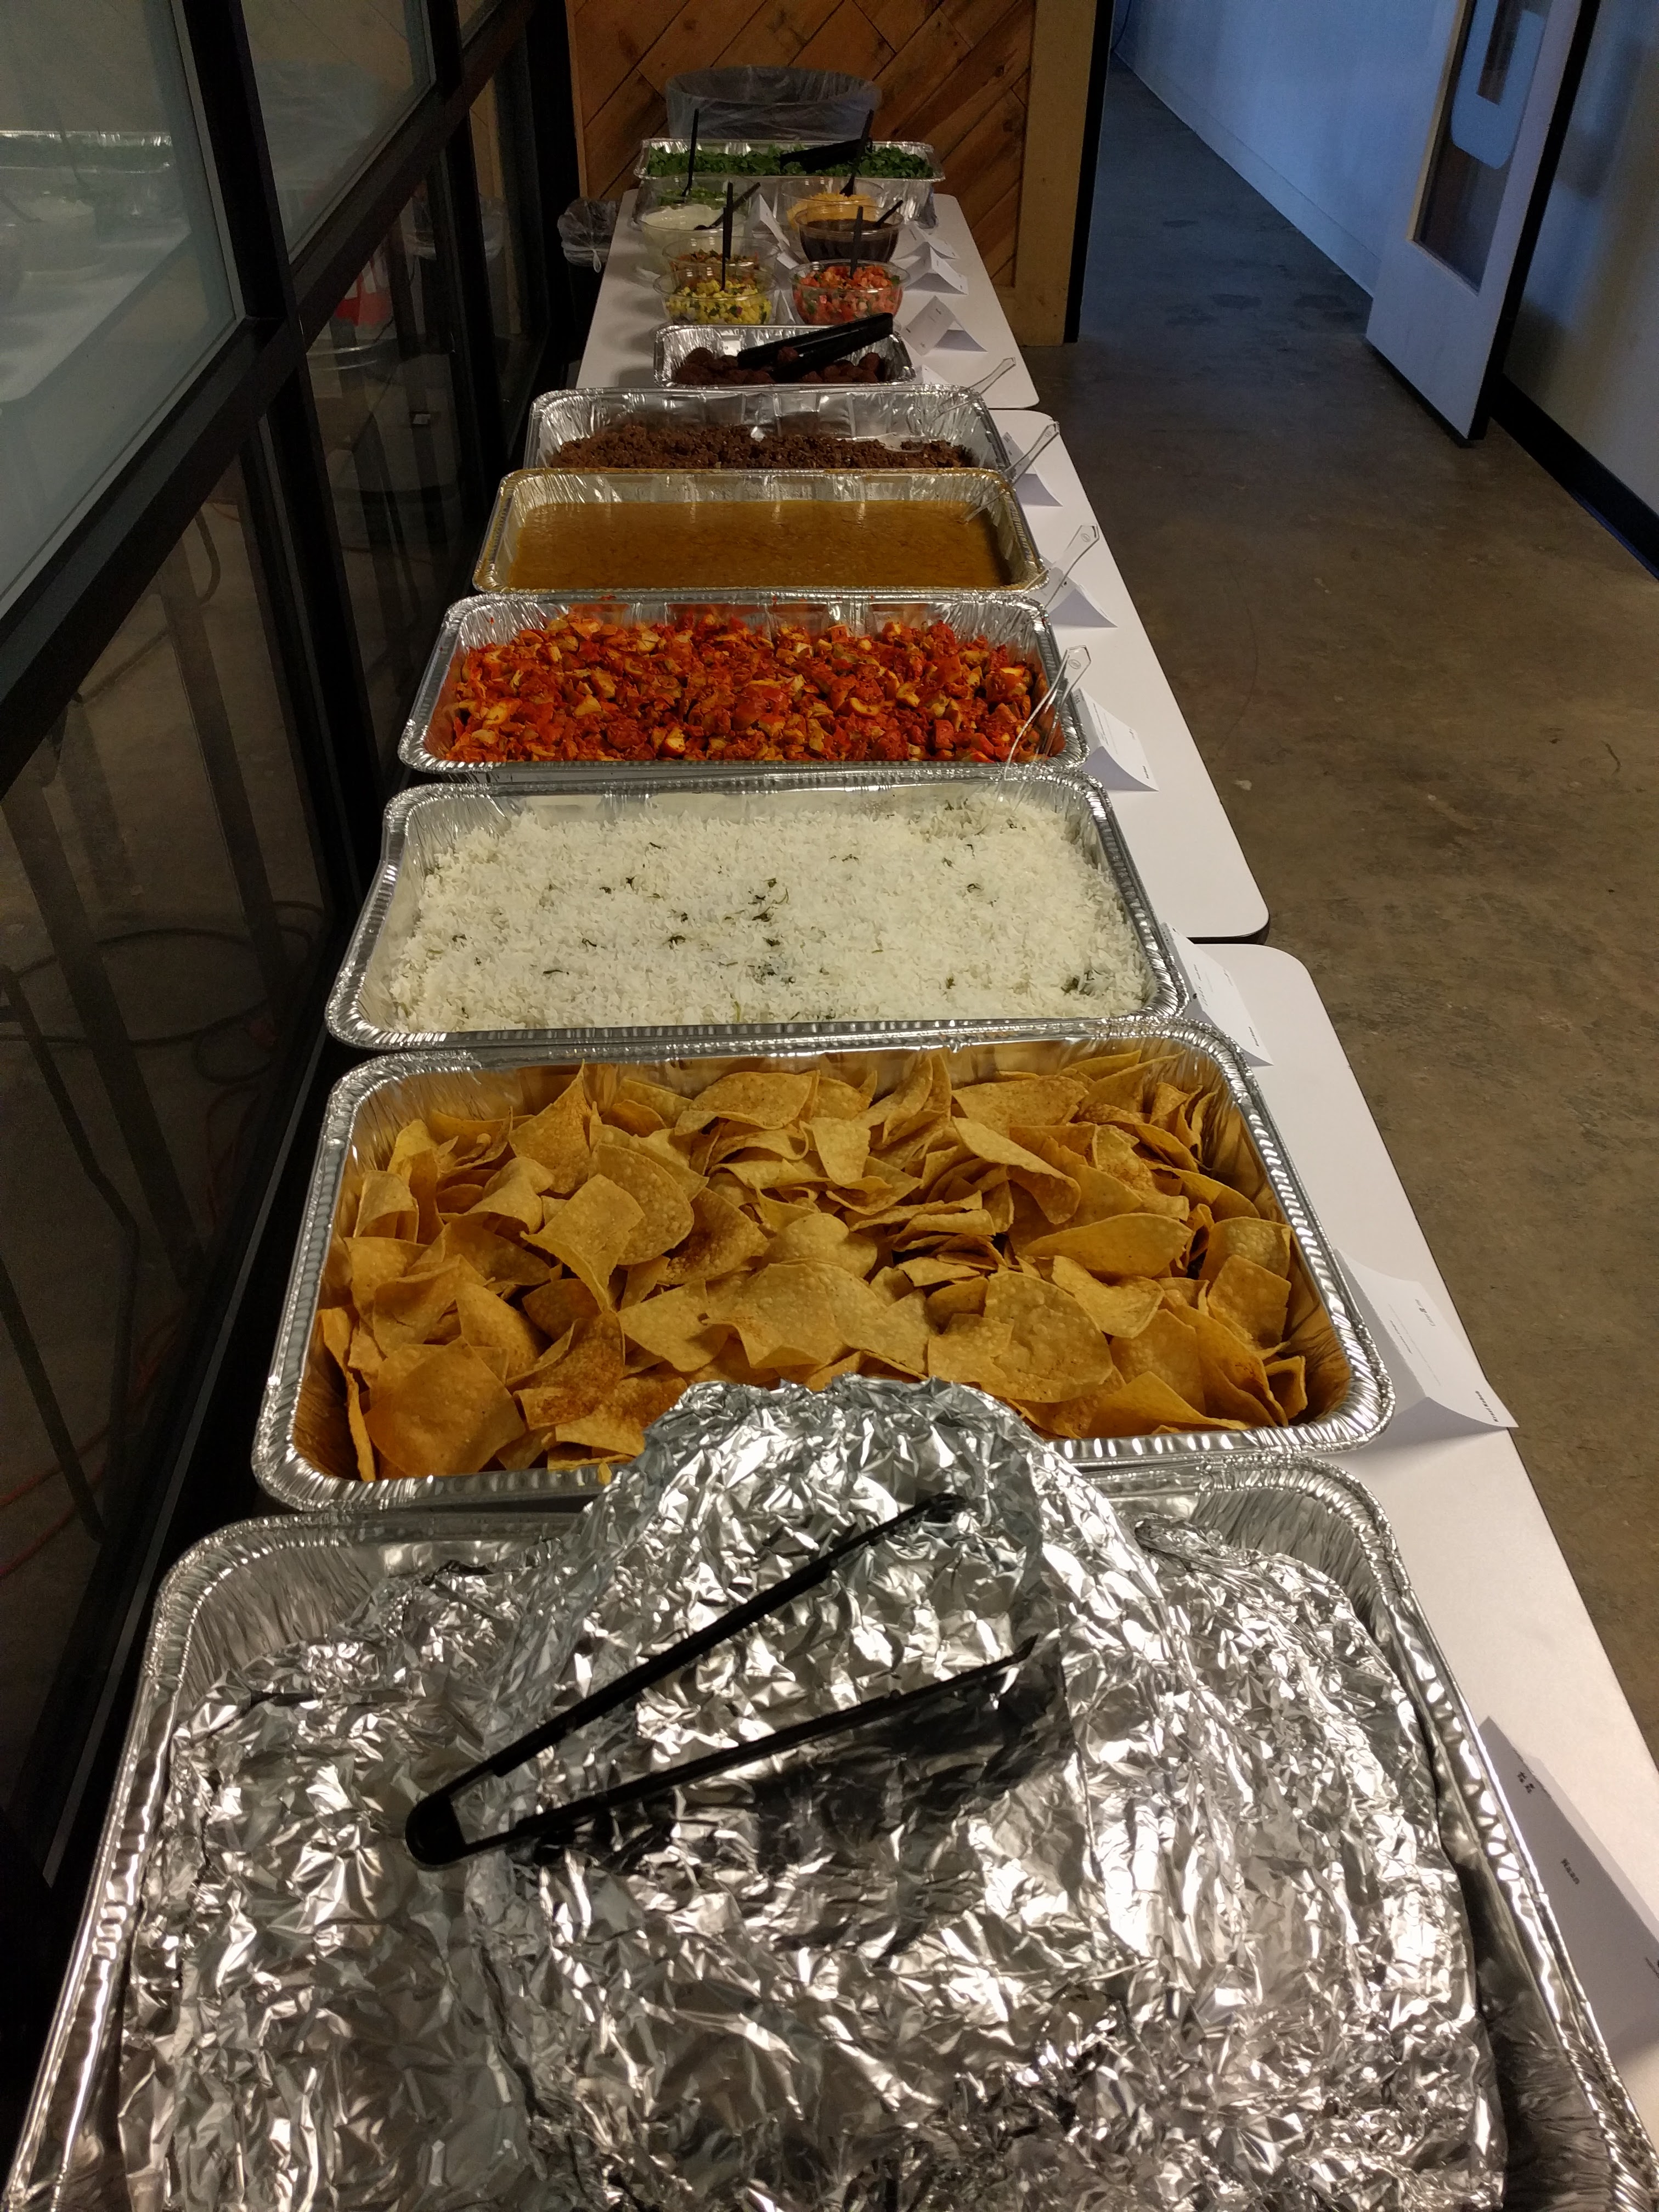
Campus Lunch
Every other Friday, General Assembly serves campus lunch. It’s open to any and every student and instructor. It’s literally the best day ever.
Intro to Mongoose: 2.5 Hours
Learning Objectives for Mongoose:
- Differentiate between NoSQL and SQL databases
- Explain what Mongoose is
- Describe the role of Mongoose schema and models
- Use Mongoose to perform CRUD functionality
- List and describe common Mongoose queries
- Persist data using Mongoose embedded documents
In previous units, we used ActiveRecord to interact with and perform CRUD actions on a SQL database through a Ruby back-end. Today, we did the equivalent with a tool called Mongoose on a NoSQL database using a Node back-end.
MongoDB is a NoSQL database that stores information as JSON (technically, it’s BJSON – “binary JSON.”)
Mongoose is an ODM (Object Data Mapping), that allows us to use our data in our application. It also gives additional helpers, functions and queries to easily perform CRUD actions.
Mongoose provides similar functionality to interact with MongoDB and Express as Active Record did with PostgreSQL and Rails.
We created Mongoose Schemas, Models, reviewed and practiced Callback Functions, Promises, Created Seed Data, Mongoose Queries and implement CRUD. It has been a long week and this lesson was definitely a tough one.
I’m beyond exhausted and ready to call it a day. On to happy hour!
Thanks again and see you next week!